
Retrieving MongoDB schemas
About this task
In this step, the schemas of interest are retrieved from the connected MongoDB database.
Procedure
-
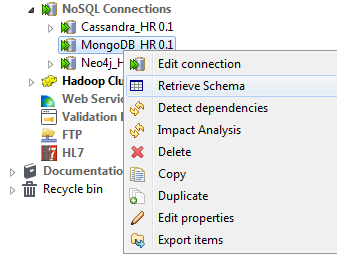
In the Repository view, right-click the newly
created connection and select Retrieve Schema
from the contextual menu.
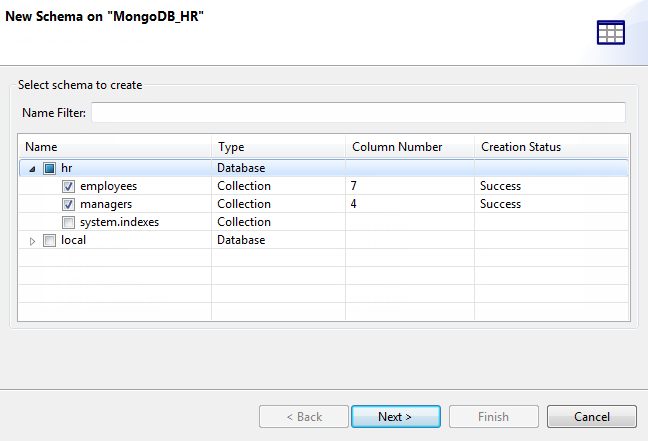
 The wizard opens a new view that lists all the available collections of the specified databases, or all the available database if you did not specify one in the previous step.
 -
Expand the database, or databases of interest if you did not specify a database in the
previous step as in this example, and select the collection or collections of
interest.
-
Click Next to proceed to the next step of the
wizard where you can edit the generated schema or schemas.
By default, each generated schema is named after the collection on which it is based.
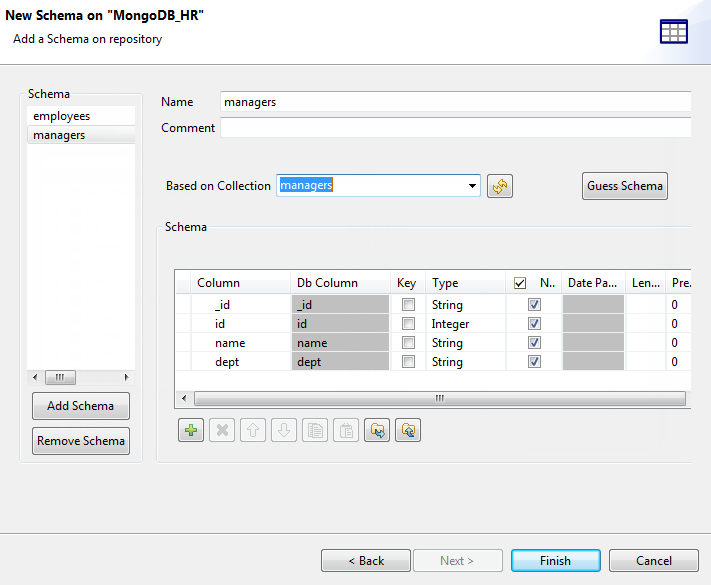 Select a schema from the Schema panel to display its details on the right side, and modify the schema if needed. You can rename any schema, and customize the schema structure according to your needs in the Schema area.The tool bar allows you to add, remove or move columns in your schema, or replace the schema with the schema defined in an XML file.To base a schema on another collection, select the schema name in the Schema panel, and select a new collection from the Based on Collection list, and click the Guess Schema button to overwrite the schema with that of the selected collection. You may need to click the refresh button to refresh the list of collections.To add a new schema, click the Add Schema button in the Schema panel, which creates an empty schema for you to define.To remove a schema, select the schema name in the Schema panel and click the Remove Schema button.To overwrite the modifications you made on the selected schema using its default schema, click Guess schema. Note that all your changes to the schema will be lost if you click this button.