
Defining a match analysis from the Analysis folder
Procedure
-
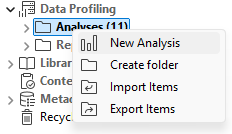
In the DQ repository
tree view, expand Data Profiling and right-click .
-
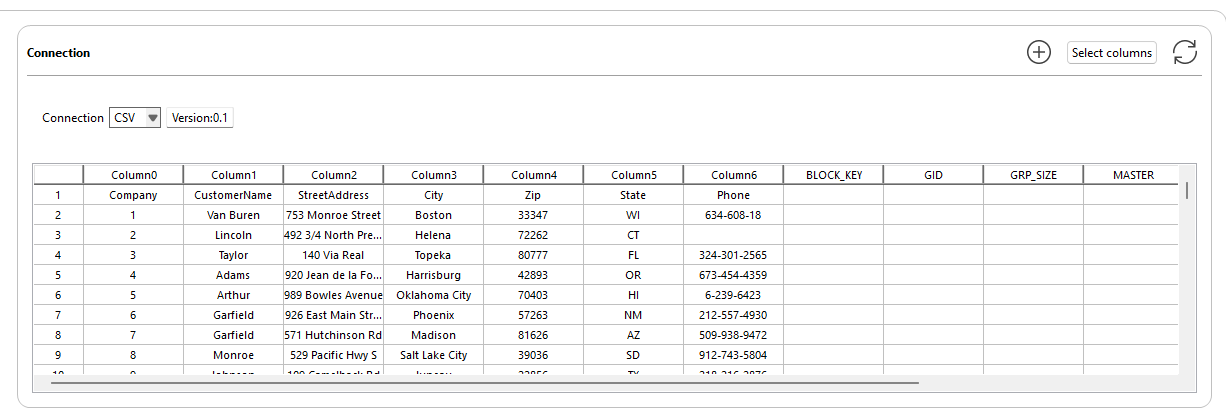
From the Connection
menu, select the connection and click Next.
The columns you select should be in the same table. Currently, the match analysis does not work on columns in different tables.A data preview is displayed.
 You can also define a match analysis starting from the table or columns you want to match. For further information, see Defining a match analysis from the Metadata folder.