Creating the context and environments
Procedure
-
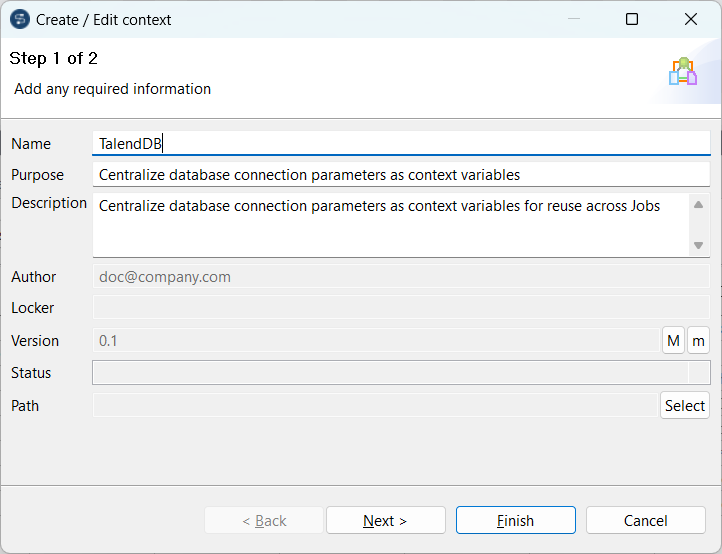
In Step 1 of 2, type in a name for the context to be created,
TalendDB in this example, and add any general
information such as a description if required. The information you provide in
the Description field will appear as a tooltip when you
move your mouse over the context in the Repository.
-
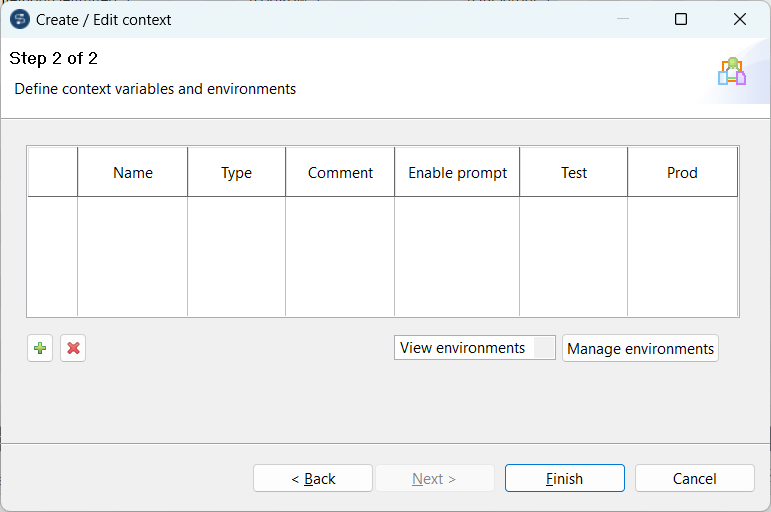
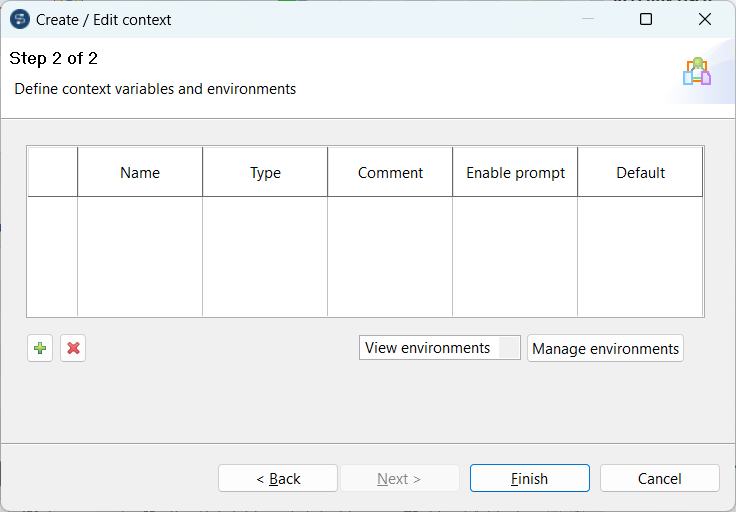
Click Next to go to Step 2 of 2, which allows you to
define the various context environments and variables that you need.
A context environment named Default has been created and set as the default one by the system.
-
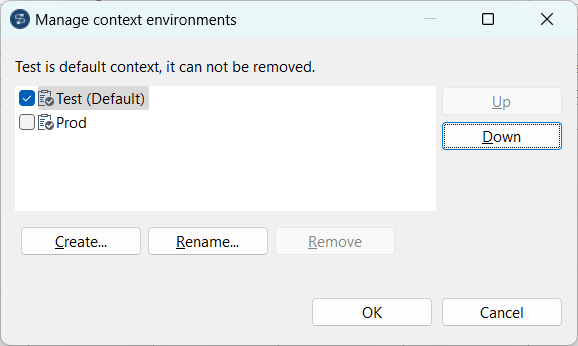
Select the check box preceding the context environment you want to set as the
default one.
If needed, move a context environment up or down by selecting it and clicking the Up or Down button.In this example, set Test as the default context environment and move it up.
-
Click OK to validate your context environment definition
and close the dialog box.
The newly created context environments are shown in the context variable table of the wizard.