Skip to main content Skip to complementary content

Creating multiple contexts for the same connection

You can create several contexts for the same database or file connection and select specific context parameters with which you want to execute an analysis on the database or the file connection.

For example, there might be various testing stages you want to perform and validate before an analysis is ready to go for production use.

Before you begin

You have selected the Profiling perspective.

Procedure

  1. Follow the procedures outlined in Exporting a connection as a context.
  2. In the last step in the Create / Reuse context wizard, click Manage environments.
  3. In the Manage context environments dialog box, click Create....
  4. Enter a name for the new context, and click OK to close the dialog box.
    The defined context for the current connection are listed in dialog box.
  5. If required, click Create... again and proceed as above to create as many contexts as needed.
  6. Click OK to close the dialog box and then Finish to close the Create / Reuse Context wizard.
    In the Database Connection wizard, all connection settings are set as context and are read-only.
  7. Click Finish to close the wizard.

    The Choose context dialog box is displayed.

  8. If required, change the context for the current database or file connection, and click OK to close the dialog box.
    A message is displayed prompting you to propagate the modifications to all the Jobs and analyses that use the connection, if any.
  9. Click Yes to confirm the operation and close the message and the dialog box.

Results

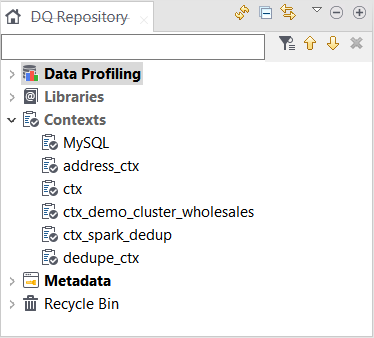
The selected connection is exported as a context and listed as a context item under the Contexts node in the DQ Repository tree view.
Contexts node containing the new context.

For detailed information on centralizing the contexts and variables to be used in data integration Jobs or data quality analyses, see Centralizing database metadata.

Did this page help you?

If you find any issues with this page or its content – a typo, a missing step, or a technical error – please let us know!