
Selecting the business rule
Procedure
-
Click the
 icon next to the table name where you want to add the
SQL business rule.
The Business Rule Selector dialog box is displayed.
icon next to the table name where you want to add the
SQL business rule.
The Business Rule Selector dialog box is displayed.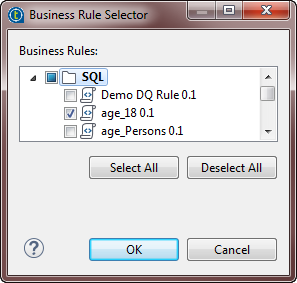
-
Click OK.
The selected business rule is listed below the table name in the Analyzed Tables view.
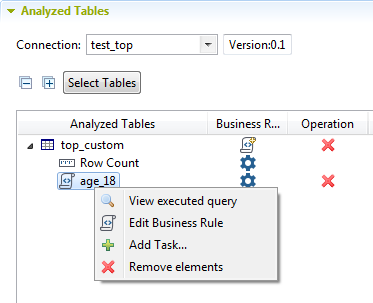 You can also drag the business rule directly from the DQ Repository tree view to the table in the analysis editor.
 -
Save the analysis and press F6 to
execute it.
An information pop-up opens to confirm that the operation is in progress and the analysis editor switches to the Analysis Results view.
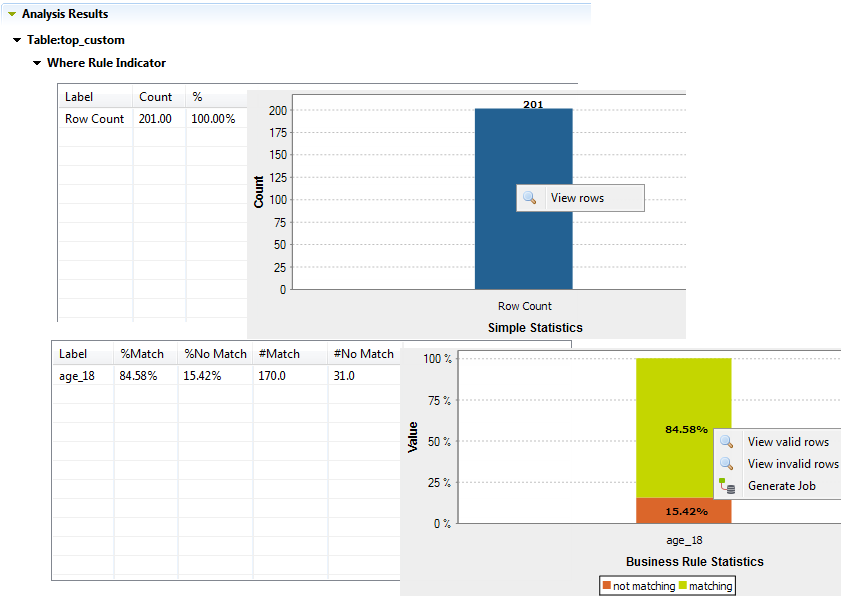 All age records in the selected table are evaluated against the defined SQL business rule. The analysis results has two bar charts: the first is a row count indicator that shows the number of rows in the analyzed table, and the second is a match and non-match indicator that indicates in red the age records from the "analyzed result set" that do not match the criteria (age below 18).