Skip to main content Skip to complementary content

Exporting a preparation made on a large dataset

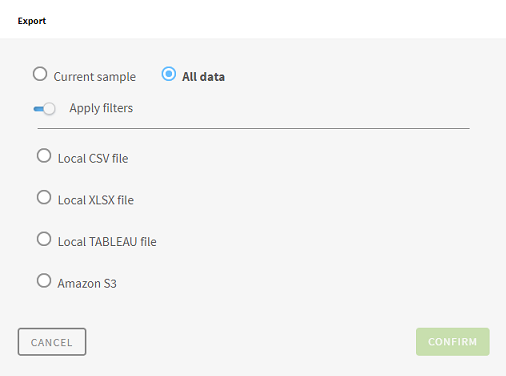
When you are finished preparing a large dataset, you have the choice to export only the sample you were working on, or the full prepared data.

If you still had filters applied on your data at the moment of the export, you can also decide if you want to keep them activated or not.

Procedure

  1. Click the Export button, on the top right of the grid
  2. Select your export option:
    • If you select All data, all the preparations steps you have performed on the 10,000 row sample will be applied to the rest of the dataset as well.
    • If you select Current sample, only the first 10,000 rows by default will be exported.
  3. Choose a filename for the export and select the output format between CSV, XLSX, Tableau or Amazon S3.
  4. Click Confirm.
    • If you choose to export only the sample, your download of the output file directly starts.
    • If you choose to export the full data, the export process is launched in the background. You can check the status of the export, and download your output file in the Export history page. For more information, see The export history page.
  5. When the export is ready, click the Download button to retrieve the result of your preparation.

Results

The preparation steps have been applied to the whole dataset, and you can now find the result of your preparation in your Downloads folder.

If you have already exported a file from this preparation, you can choose to keep your previous export settings, or make a New Export with new settings.

Exporting again with the same settings will also overwrite your last export set to All data.

Did this page help you?

If you find any issues with this page or its content – a typo, a missing step, or a technical error – please let us know!