Integrate the Talend Job into Eclipse
Follow the steps to import the Talend Job into a Java project in Eclipse:
Procedure
-
Launch Eclipse and create a new Java project.
For this example, call it P1.

-
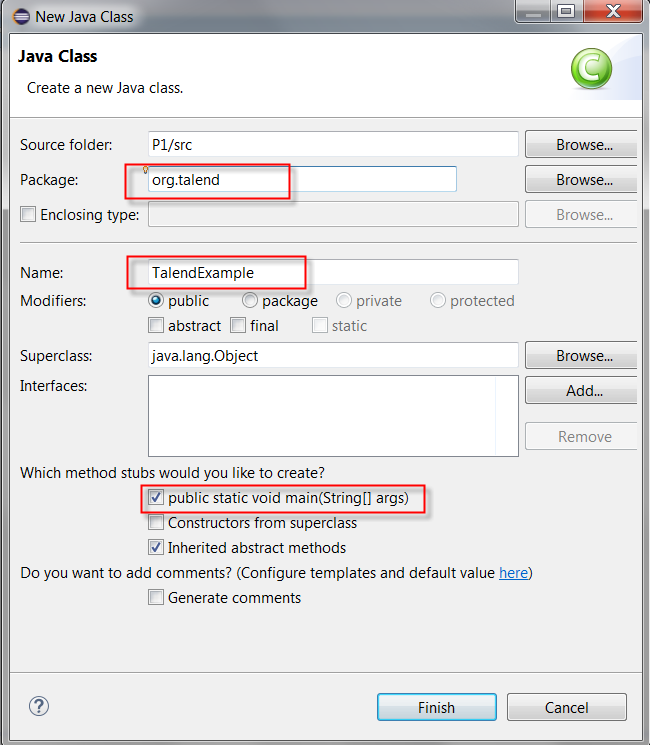
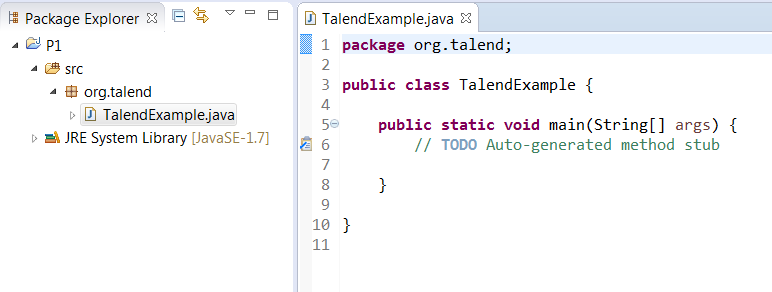
Create a new Java class called TalendExample that will
call the Talend
Job.
-
Then select the Configure Build Path option.
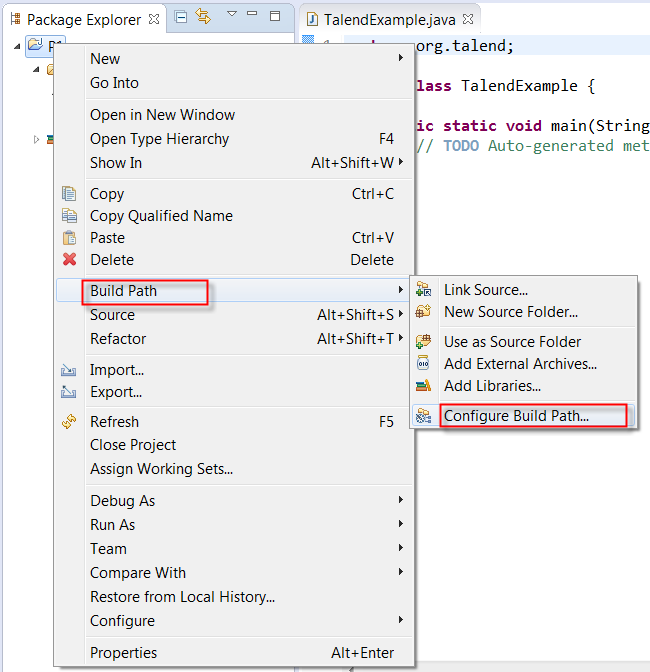
-
In the next window, open the Libraries tab and click the
Add external Jars button to import the Job jar and
all the dependent jars.
For example, this demo Job contains the following jars (Located in <Job script unzip dir>\CallJobInEclipseDemo\):
- calljobineclipsedemo_0_1.jar
- axis.jar
- dom4j-1.6.1.jar
- jaxrpc.jar
- systemRoutines.jar
- talend_file_enhanced_20070724.jar
- talendcsv.jar
- userRoutines.jar

-
Import the context configuration file Default.properties:
-
Copy the di_demo folder
(di_demo is the project name in this
example).

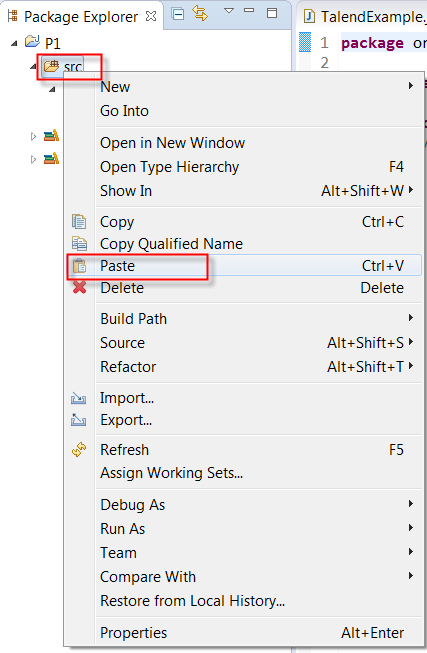
-
In Eclipse, paste it to the src folder.
-
Copy the di_demo folder
(di_demo is the project name in this
example).
-
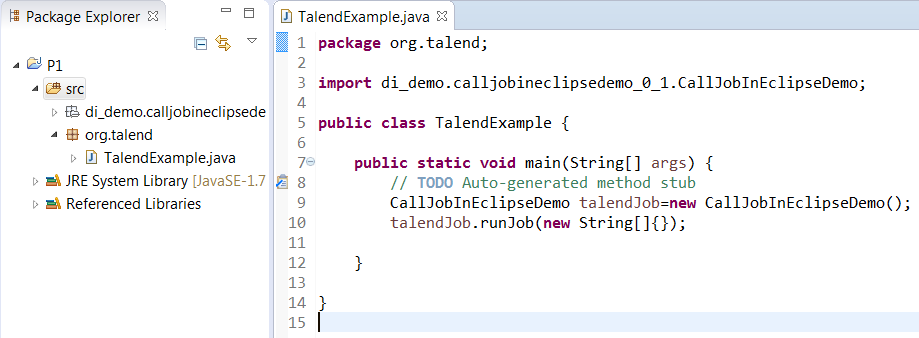
Open the TalendExample.java class and edit its code as
follows:
package org.talend;
import di_demo.calljobineclipsedemo_0_1.CallJobInEclipseDemo;
public class TalendExample {
	public static void main(String[] args) {
		// TODO Auto-generated method stub
		CallJobInEclipseDemo talendJob=new CallJobInEclipseDemo();
		talendJob.runJob(new String[]{});
	}
}