
For you to be able to get the full picture of your app, you need a way to collect the insights you encounter. For this you use and take static snapshots of your visualizations.
A snapshot is a graphical representation of the state (type and data) of a data object at a certain point in time that you can use when you build stories. The snapshot you take is a copy of the state. This means that the state of the snapshot does not change when the state of the corresponding data object gets updated.
When you take a snapshot you can make an annotation for your snapshot. The annotation helps you distinguish between the different snapshots in the snapshot library when you build your story. The annotation is not visible when you play the story.
When you have taken snapshots of a specific visualization you can open the Snapshot library from the visualization's shortcut menu. From there you can decide which snapshots you would like to keep and use in your coming stories. You can edit the annotation and delete the snapshots taken of the visualization.
See: Snapshot library
If the visualization you are trying to take a snapshot of is an extension, the snapshot functionality in the visualization extension’s main script must be enabled by setting the snapshot property to true.
Allow snapshots of your visualization
Taking a snapshot
When you are in sheet view, you can take snapshots of the visualizations and use them to build a story in data storytelling.
You can take snapshots of all the different visualization types but not the filter panes.
Do the following:
- In sheet view, hover over the visualization you want to take a snapshot of.
-
Click Å at the top right of the visualization or long-touch/right-click the visualization and select Å.
The annotation dialog opens.
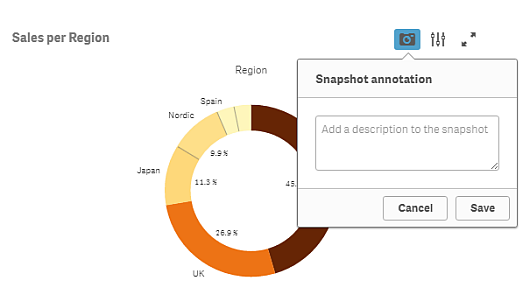 The annotation dialog when taking a snapshot of the visualization "Sales per Region ".
 - Type a description to help distinguishing between the snapshots in the snapshot library.
-
Click Save or click outside the dialog to close the dialog.
The annotation is saved.
The snapshot is saved and named with the title of the visualization.
Viewing snapshots
Do the following:
-
Long-touch/right-click the visualization you want to view snapshots for.
The visualization's shortcut menu is opened.
-
Select Open snapshot library.
The Snapshot library is opened with a list of all the snapshots taken of the visualization. The date stamp and any annotations helps you to distinguish between your snapshots.
-
Click outside the library to close it.
Deleting snapshots
Do the following:
-
Long-touch/right-click the visualization you want to view snapshots for.
The visualization's shortcut menu is opened.
-
Select Open snapshot library.
The Snapshot library is opened with a list of all the snapshots taken of the visualization. The date stamp and any annotations helps you to distinguish between your snapshots.
-
Click @ Edit.
-
Select the snapshots you want to delete.
Information noteYou cannot delete snapshots that belong to a published version of an app. -
Click Ö.
The selected snapshots are deleted.
-
Click @ or outside the text.
-
Click outside the library to close it.