
Creating a Microsoft Azure Bot Service
Once you have configured a virtual proxy, you need to create a Microsoft Azure Bot Service. The Bot Service provides communication between users and the external channels.
====Microsoft Azure Bot Service====
Bot handle =
MicrosoftAppId =
MicrosoftAppPassword =
===================================
===================================
Do the following:
-
Log in to your Microsoft Azure portal.
-
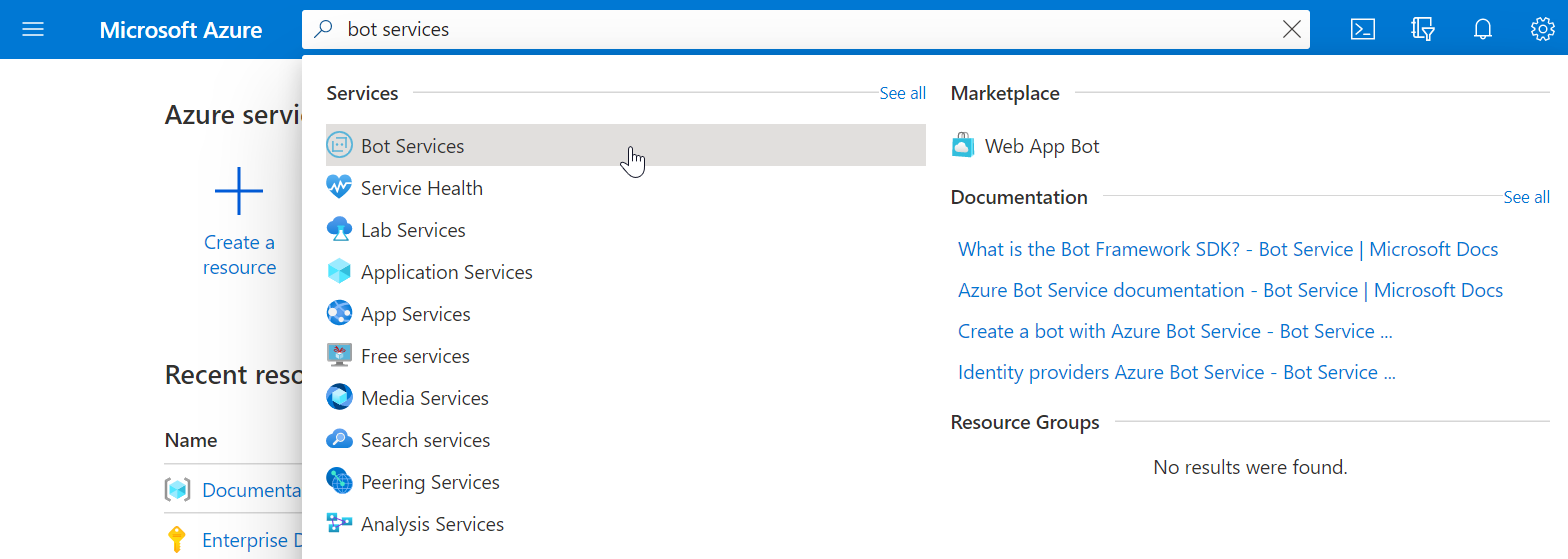
Type Bot Services in the search bar. Under Services, select Bot Services.
-
Click Create.
-
Select Azure Bot from the list.
-
Click Create.
-
Create an Azure Bot with the following parameters:
Parameters Value Bot handle Enter a unique name. Subscription Select your subscription.
Resource group Select your resource group. Data residency (preview) Global Pricing tier Select the appropriate pricing tier. Microsoft App ID Type of App: Select Multi Tenant.
Creation Type: Select Create new Microsoft App ID.
When finished, click Review + Create.
-
When the Azure Bot validation is complete, click Create.
You are redirected a deployment page. Wait for the deployment to complete.
-
On the left-side menu, click Inputs.
-
From the Inputs page, copy the Bot handle and the msAppId (Microsoft App ID) to your notepad.
-
Go to the Overview page and click Go to resource.
-
On the left-side menu, go to Settings > Configuration.
-
Enter the messaging endpoint and click Apply.
The messaging endpoint is the URL to the Qlik Sense central node server. Include the messaging endpoint. For example: https://qliksense.domain.com/api/messages.
-
To create a client secret, next to the Microsoft App ID, click Manage.
-
In the Client secrets section, click New client secret.
-
Enter a description and select the expiry date, and then click Add.
-
In the Value column, copy the value (MicrosoftAppPassword) to your notepad.
-
Your Azure Bot is now ready to configure a communication channel.