Skip to main content Skip to complementary content

Building an API test for your web application

Build an API test from an existing web application.

A web app is usually composed of a frontend and a backend. The backend exposes a REST API which is used by the frontend to consume data.

When developing new features on a web app, backend developers want to make sure they do not break existing APIs. Frontend developers, on their side, want a reliable API to build their UI layer on. This way they can focus on what really matters: designing a good user experience.

This is where API tests bring value. API tests help development teams to ensure they do not break the API contract when making changes in the application code.

Procedure

  1. Open your web app in your browser.
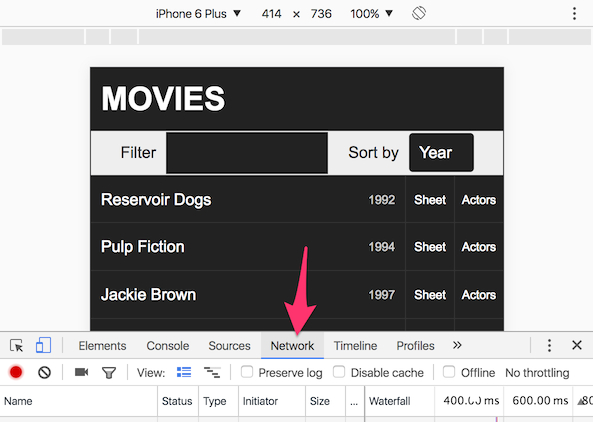
  2. Open the browser's developer tools and select the Network tab.
    The browser's developer tools is opened and the Network tab is highlighted.

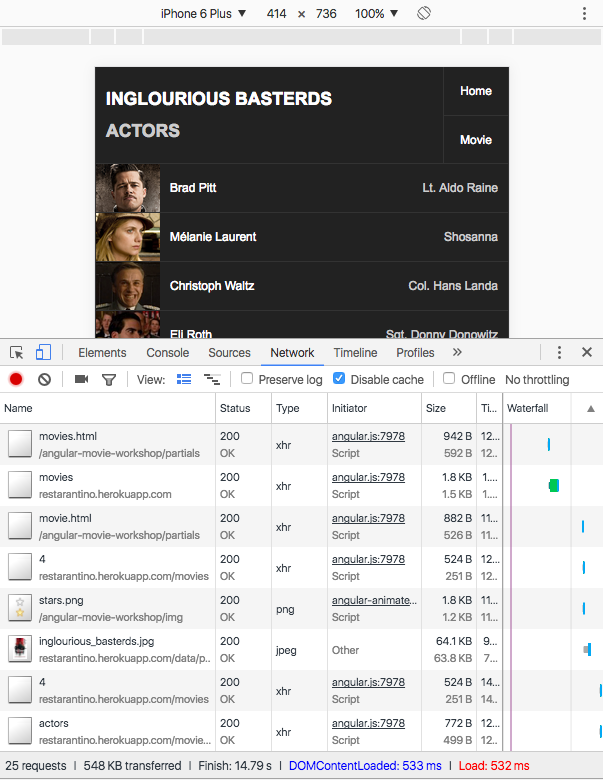
    This tutorial is illustrated by screenshots of a web and mobile app that allows users to browse Quentin Tarantino's filmography.

  3. Use your web app and reproduce a user's sequence of actions.

    Your web app’s frontend will call the backend API as you navigate through the different screens. You can see requests being sent in the browser’s Network tab.

    Requests sent in the Network tab.
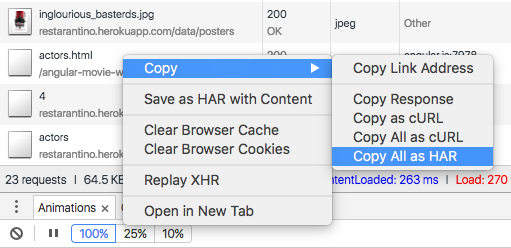
  4. Save or copy these network exchanges in HAR format.

    HAR (HTTP Archive) is a JSON-based archive file aimed at storing a web browser’s network interaction.

    The menu opened with the Copy All as HAR option selected.
  5. Open Talend Cloud API Tester and go to SCENARIOS > Import > Import HAR 1.2.
  6. Upload your .har file and select the requests to be included in your API test, then click Import.

    Filtering capabilities can be used to hide requests that do not target the backend API you want to test (such as images, CSS, Javascript...).

    The various requests to include are selected.
  7. Select the project in which you want to save your requests or create a new one by clicking Create > Project.
  8. Click Create > Scenario to save this sequence of requests into a scenario.

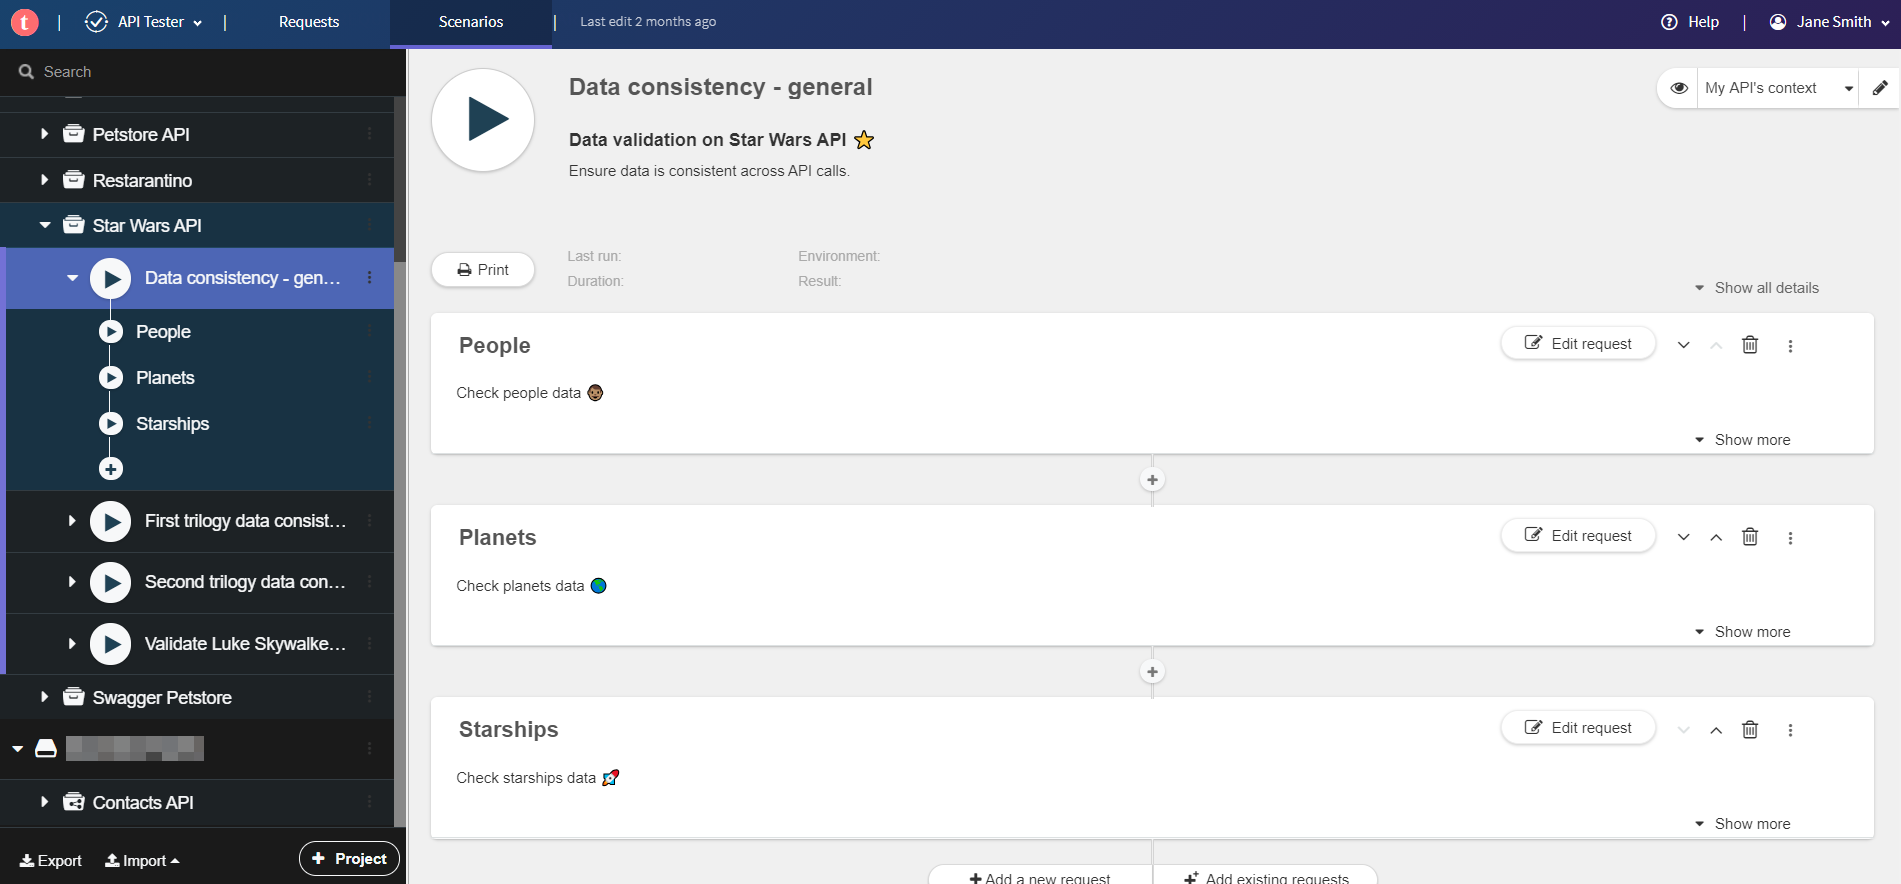
    In Talend Cloud API Tester, a scenario is an ordered sequence of requests that closely emulates real-life use of the API.

  9. Name your scenario and click Add, then click Save.
  10. Run your scenario to see the requests sent by Talend Cloud API Tester.
    The scenario and the requests sent.
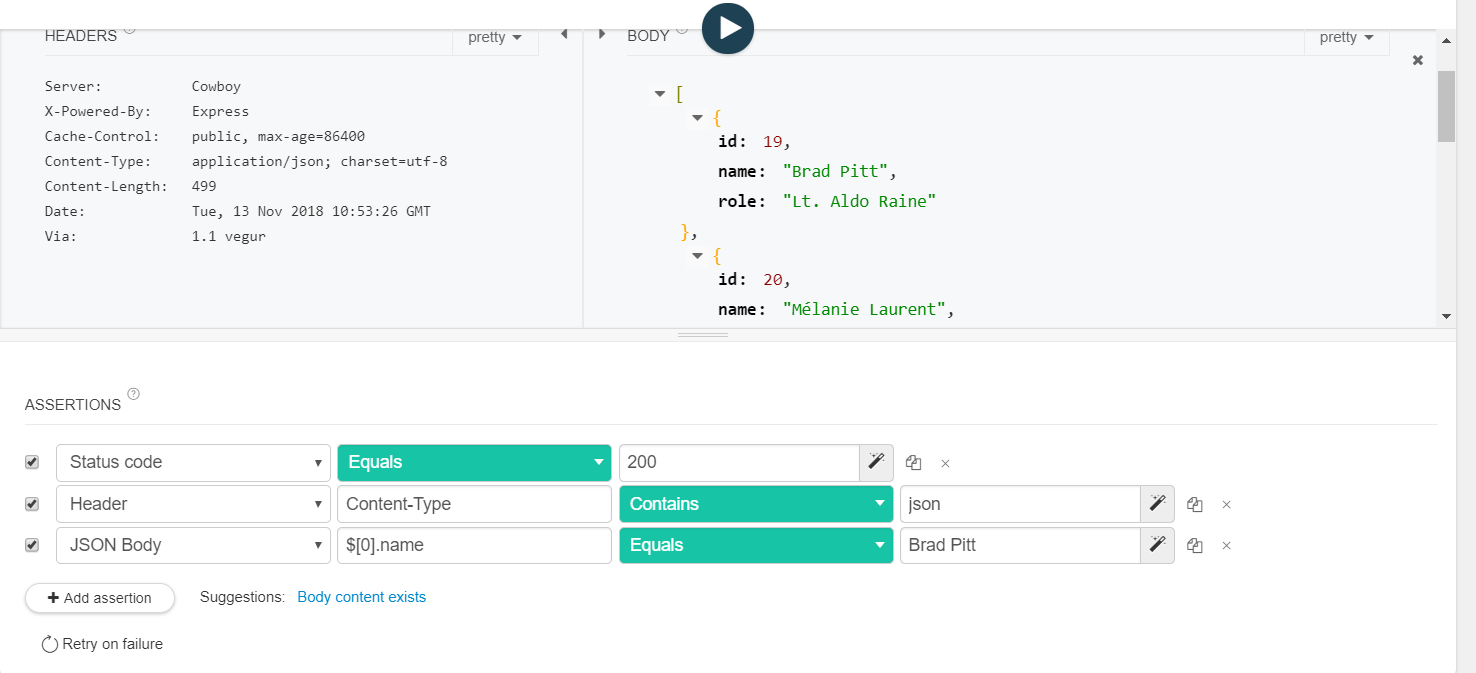
  11. Add assertions to your scenario.

    Assertions will ensure your API is behaving as expected. A good starting point is to check the response status code (for example you can usually expect a 200 status code for a GET request).

    Assertions are about to be added to the scenario.

    You can then go further by creating assertions on response headers and body. For more information, see Assertions.

Did this page help you?

If you find any issues with this page or its content – a typo, a missing step, or a technical error – please let us know!