
Running the upgrade application
To upgrade your deployment, you run the Qlik Sense installer on each node in your Qlik Sense deployment, starting with the central node.
Before you start the upgrade
You need to download the installer, verify the system requirements, and ensure your system is ready to upgrade.
-
Check your system requirements.
-
Download your installer and the release notes and save them locally on the node you are upgrading.
-
Log into the central node server as an admin user with a password.
Information noteThe admin user password cannot be blank. If the admin user does not have a password, create one before starting the upgrade. -
Verify that your Qlik Sense services are running with a service account, not a local account. To change the service account user, see Changing the user account to run Qlik Sense services.
-
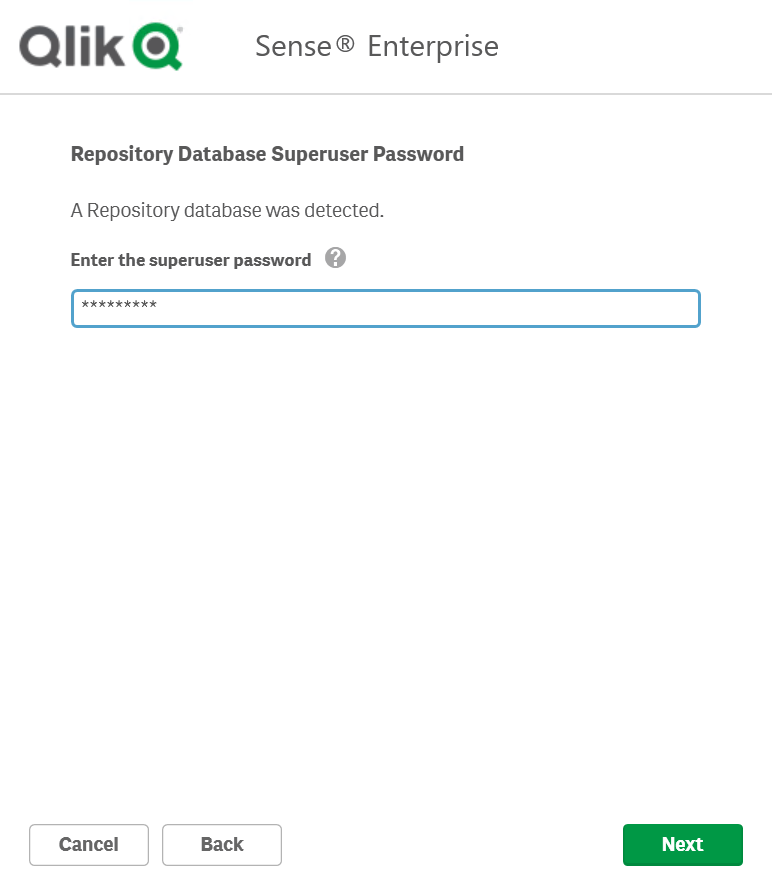
Get your Qlik Sense Repository Database superuser password, as this is needed during the upgrade. You created this password when you first installed Qlik Sense.
-
Create a backup of the Qlik Sense deployment before upgrading.
-
You can optionally remove the root certificate from the central node and all certificates from the rim nodes if you want the QPS to recreate them during the upgrade.
Upgrading a Qlik Sense node
For a multi-node upgrade, start with the central node. When finished, repeat these steps for each node in your site.
Do the following:
-
From the Windows services app, stop the Qlik Sense services.
-
Right-click the Qlik_Sense_setup.exe file that you saved locally and click Run as administrator.
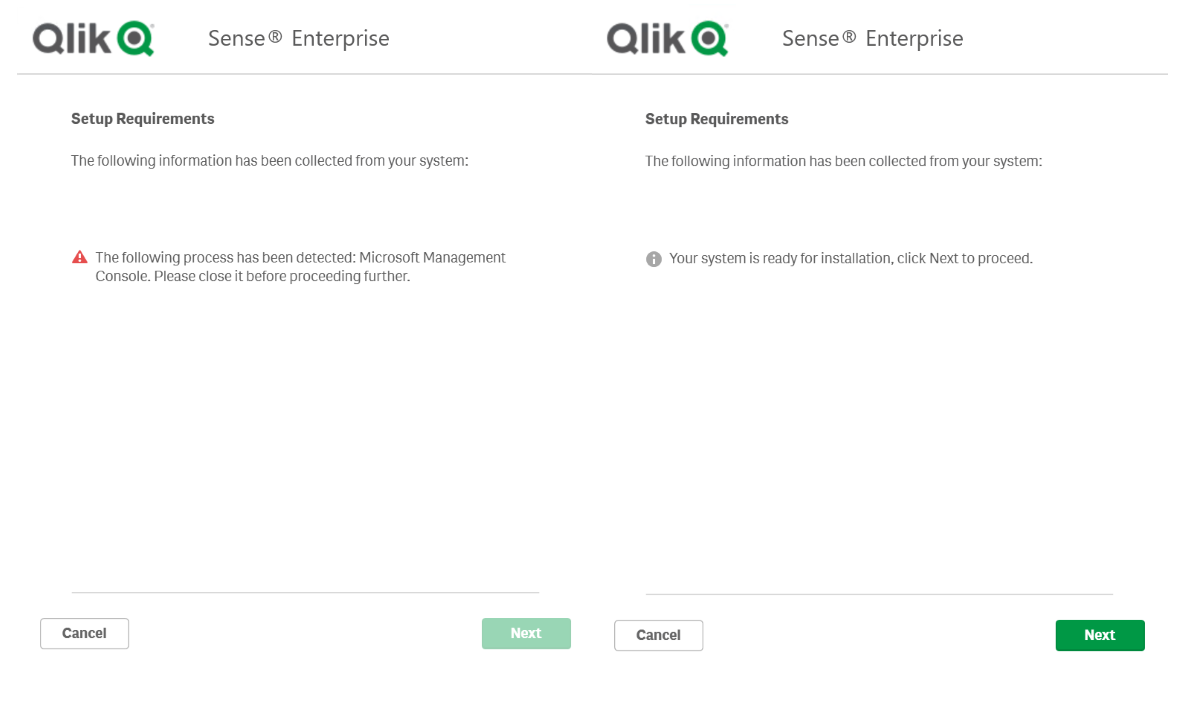
The installer checks to see if any applications that are running need to be closed before starting. Follow the instructions until the installer detects your system is ready for upgrading.
 Information noteThe installer also checks your root certificate. If it is unsupported, you must remove it before upgrading. Click the Remove button to remove unsupported certificates.
 -
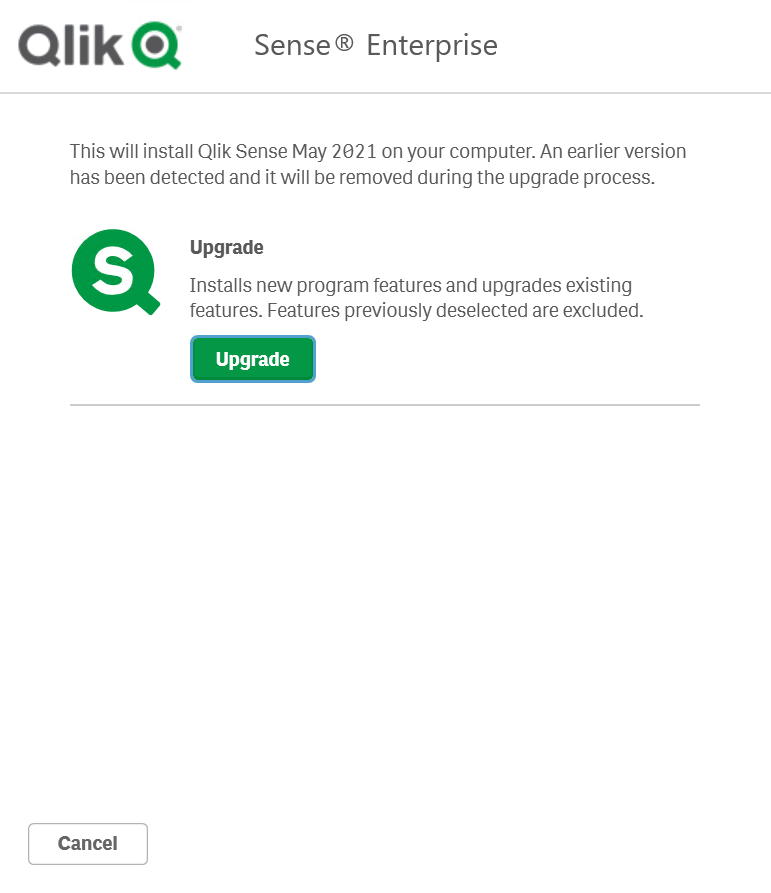
Select Upgrade.
-
On the License Agreement window, read and accept the Qlik User License Agreement.
-
On the Service Credentials page, enter the username and password for the Qlik Sense service account.
Information noteIf the username is a member of a domain, enter the user name as <domain>/<username>. -
Enter the Qlik Sense Repository Database superuser password.
-
On the Ready to upgrade window, select the installer options.
- In the Ready to upgrade section, select the relevant options.
-
In the Supported object bundles section, optionally install the object bundles. Then, select which object bundles you want to install from the list of those available for your Qlik Sense Enterprise on Windows installation.
Information noteIf you are installing object bundles, read and accept the object bundles license agreement. -
In the Help Us Improve section, select if you want to anonymously share system data with Qlik.
-
Click Next when you have selected your options, then click Upgrade.
-
Click Finish.