
Installing Qlik Sense On-Demand reporting control
The On-Demand reporting control adds a button that generates Qlik NPrinting reports on demand. It is included in Dashboard bundle.
The On-Demand reporting control is useful when you want the user to be able to print predefined Qlik NPrinting reports within Qlik Sense, using their selections in the app as a filter.
Requirements
- Qlik NPrinting Server (September 2019 or later) with a Qlik NPrinting app that is connected to the Qlik Sense app that you are designing. This Qlik NPrinting app contains your report templates.
- Qlik Sense Enterprise on Windows September 2019 or later.
- All users generating On-Demand reports need to be added as users in Qlik NPrinting, with a security role that supports running On-Demand reports.
-
Users must be logged into Qlik Sense via NTML (Windows) authentication in order to generate reports or create reporting buttons.
You must enable Windows authentication to use the Qlik NPrinting On-Demand Add-on on QlikView Web server and Qlik Sense.
If you only want to use JWT authentication, then you must install the Qlik NPrinting On-Demand Add-on on a QlikView Server configured on a Microsoft IIS Web Server.
Installing On-Demand Add-on on a Microsoft IIS hosted QlikView AccessPoint
Limitations
- If the Qlik NPrinting report template contains a filter, you cannot make conflicting selections in the Qlik Sense app, or the report will fail.
Installing the Dashboard bundle
You can install the Dashboard bundle when you install Qlik Sense.
You can add or remove object bundles from your Qlik Sense deployment at any moment. If you have a multi-node installation, object bundles are installed on the central node.
Do the following:
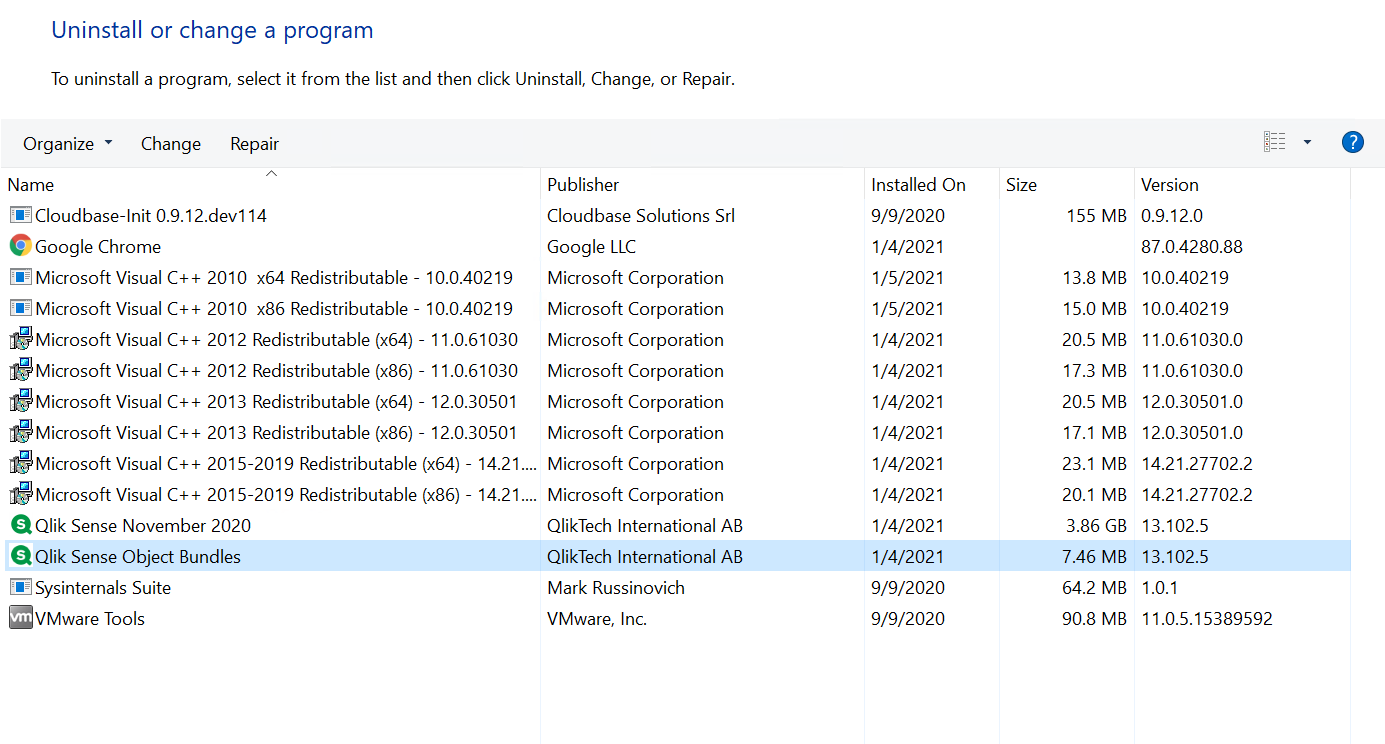
- In Windows Control Panel, open Programs and Features.
-
In the list of programs, double-click the object bundle that you want to modify.
- The Object Bundle Setup Wizard opens. Click Next.
- Select Change.
- On the Custom setup screen, click on the bundle icon to select how to modify the bundle installation:
- If the bundle is installed, select Entire feature will be unavailable to uninstall it.
- If the bundle is not installed, select Entire feature will be installed on local hard drive to install it.
Then, click Next.
-
Click Change.
Once the modification if complete, you are required to manually restart the Qlik Sense Repository Service.
- Click Finish to close the Object Bundle Setup Wizard.
- Manually restart the Qlik Sense Repository Service to apply the changes.
You can verify that the changes have been correctly applied by checking the Extensions section in the QMC.
Adding a server as a trusted origin
If you are creating On-Demand reports in Qlik Sense or a QlikView Web Server hosted QlikView AccessPoint, you must add these servers as a trusted origin in Qlik NPrinting web console.
For each server path used to access the Qlik NPrinting web console, you must add a trusted origin. For example, if your server can be accessed through a local domain, a shortened host, or fully qualified URLs, a trusted origin must be added for each of those server paths.
How you enter the server paths in the Address field of the trusted origin depends on your security configuration.
Configuration 1: SSL security not setup with Qlik NPrinting web console
A trusted origin is required for each server path used to log onto the Qlik NPrinting web console. For example, if your server is qlikserver1 and has an IP address of 192.168.0.101, you would add the following trusted origins:
- http://qlikserver1
- http://qlikserver1.domain.local
- http://192.168.0.101
Configuration 2: SSL security setup with Qlik NPrinting web console and third-party
A trusted origin is required for each server path used to log onto the Qlik NPrinting web console. URLs must use HTTPS. For example, if your server is qlikserver1 and has an IP address of 192.168.0.101, you would add the following trusted origins:
- https://qlikserver1
- https://qlikserver1.domain.local
- https://192.168.0.101
Adding a trusted origin
Do the following:
- In Qlik NPrinting, click Admin > Settings.
- Click On-Demand Settings.
- Click Add trusted origin.
- After Name, enter a name for the trusted origin.
- After Description, enter a description for the trusted origin.
-
After Address, enter the URL for the QlikView Server.
The URL must be the base URL (scheme and host) only. For example, http://qlikserver1 rather than http://qlikserver1/qlikview/index.htm.
- Click Create.
Configuring On-Demand settings on Qlik NPrinting Server
You must configure these settings on your Qlik NPrinting Server:
-
You must have a connection to a QlikView Server or a Qlik Sense server.
QlikView Server and QlikView Cluster connections are supported with On-Demand. Local connections are not supported. See: Creating connections.
- If you are connecting to a QlikView Server or Cluster with a QlikView Server Extranet License, the following options must be enabled when configuring the connection:
- Connection requires authentication
- Apply user section access for reports
- You must enable your Qlik NPrinting reports for On-Demand.
- You can limit On-Demand report creation through security roles. See: Role based security.
On-Demand is compatible with Chrome, Firefox, and Explorer. It will not run in Microsoft Edge, because the certificates will not download.
Enabling Qlik NPrinting reports for On-Demand creation
Qlik NPrinting reports must be manually enabled for On-Demand creation. Reports must be assigned to the QlikView document or Qlik Sense app with which you want to generate On-Demand reports. On-Demand creation can be enabled during the creation of a new report.
Do the following:
- In Qlik NPrinting web console, click Reports.
- Open a report or create a new report.
-
Select an app from the App drop-down list is connected to the QlikView document or Qlik Sense app for which you want to generate a report.
Information noteOn-Demand requests only work with reports based on a single connection. MultiDoc reports are not supported. - Select the Enable On-Demand check box.
- Click Save.
The report template is now available.