
Installing Qlik NPrinting Server
Qlik NPrinting Server must be installed first. The Qlik NPrinting scheduler service that is installed with Qlik NPrinting Server is required to communicate with the Qlik NPrinting Engine.
What is installed
Qlik NPrinting Server installs the following. These must not be uninstalled from the server:
- Qlik NPrinting scheduler service
- Qlik NPrinting repository
- Qlik NPrinting audit service
- Qlik NPrinting web engine
- Qlik NPrinting messaging service
- Qlik NPrinting licensing service
-
Qlik NPrinting repo service (PostgreSQL 13.8-1)
-
.NET framework: 4.7.2 or higher.
.NET framework is installed when you install Qlik NPrinting Server, Qlik NPrinting Engine, or Qlik NPrinting Designer. The installation of .NET framework requires an internet connection. If .NETframework is not already installed on a computer without an internet connection, the installation stops. Before you begin the installation of Qlik NPrinting Server, Qlik NPrinting Engine, or Qlik NPrinting Designer, you must install the .NET framework on computers without an internet connection. If an internet connection is not available on a computer with .NET framework already installed, the installer will skip this part of the installation.
- Erlang OTP24.0
-
Microsoft Visual C++ 2013 Redistributable x64 (12.0.30501)
-
Microsoft Visual C++ 2015-2022 Redistributable x86 (14.30.30704)
-
Microsoft Visual C++ 2015-2022 Redistributable x64 (14.30.30704)
Requirements
- Check that your environment meets the System requirements for Qlik NPrinting Server.
- Check that the required Ports are available.
- Prepare the User accounts required to run the Qlik NPrinting services.
- Understand how Licensing Qlik NPrinting is configured, and have your license key available.
Limitations
-
Qlik NPrinting can only be installed on C drives.
- Starting with Qlik NPrinting 17.2.1, the Qlik NPrinting Server setup removes RabbitMQ and replaces it with the Qlik NPrinting messaging service.
- RabbitMQ cannot be installed on the same computer as Qlik NPrinting Server 17.2.1 or newer.
- You must install the Qlik NPrinting Server before you install the Qlik NPrinting Engines.
- You cannot install Qlik NPrinting Server 17 and newer on the same computer as Qlik NPrinting Server 16.
-
Local data such as logs, configuration files, template files, and NewsStand files are stored in C:\ProgramData\NPrinting. This location is not configurable.
-
Any email addresses used to create accounts must be compliant with the HTML specification.
Comments, quoted strings, and special characters like []/();:'"<>, are not allowed. See: W3C page.
Creating a Qlik NPrinting service user
Do the following:
- Create a user to run your Qlik NPrinting services. The user must be a local Administrator, with Logon as a Service rights, and should be used exclusively to run Qlik NPrinting services.
- In Windows Computer Management, go to Local Users and Groups > Users, and click Action > New User....
- Enter a User name and Password for the user and click Create.
- Right-click on the user that you created in the previous step, and click Properties.
- Click on the Member Of tab and click Add....
- Enter Administrators in the field and click Check Names. If the name is valid, click OK.
- From the Windows Control Panel, go to Administrative Tools, and click on Local Security Policy.
- Go to Local Policies > User Rights Assignment, and click Log on as a service.
- On the Local Security Setting tab, click Add User or Group....
- Enter the user that you created in the previous steps and click Check Names. If the name is valid, click OK.
- Log into the computer where you plan to install Qlik NPrinting Server as a local Windows administrator. You can use the account that you created in the previous steps.
- To verify that you are logged on as a local administrator, go to Control Panel > User Accounts. You can see the groups that the user belongs to under the name on the contact card.
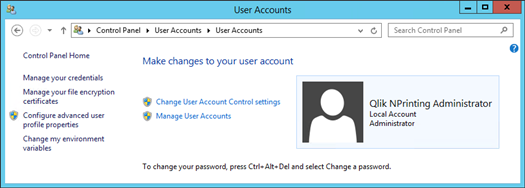
- To verify that you are logged on as a local administrator, go to Control Panel > User Accounts. You can see the groups that the user belongs to under the name on the contact card.
Downloading the installation file
Download QlikNPrintingServer_x64.exe from the Qlik Download Site
For more information, see Downloading installation files.
Installing Qlik NPrinting Server
Do the following:
- Double-click QlikNPrintingServer_x64.exe to launch the setup.
- Click the check box to accept the license agreement, and click Install. If:
- The User Account Control window appears, click Yes to proceed.
- The MicrosoftVisual C++ 2013 window appears, accept the license terms and install it. If you have an older version installed, click Repair. When the installation is complete, click Close.
- The Windows Security Alert appears, select both check boxes and then click on Allow access. Erlang needs to communicate over the network, so you must allow the creation of the related firewall rule.
- On the Qlik NPrinting repository Service Setup Welcome page, click Next.
- On the Repository database superuser password screen, enter a password for the Qlik NPrinting repository database superuser.
Qlik NPrinting installs a PostgreSQL repository database during setup. The database superuser is a PostgreSQL login role with the highest level of privileges that bypasses all permission checks. You will need this password to administrate your PostgreSQL installation.
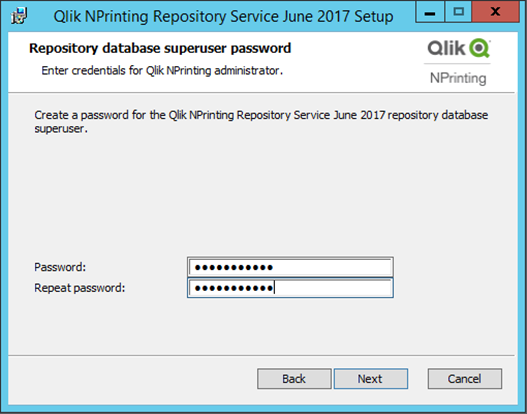 Information noteYou can proceed without creating a password, but this is not recommended.
 - On the Administrator credentials screen:
- Enter the following to create a Qlik NPrinting user with administrative privileges:
- Administrator username
- Email address
- Password
This user is used the first time you log into Qlik NPrinting.
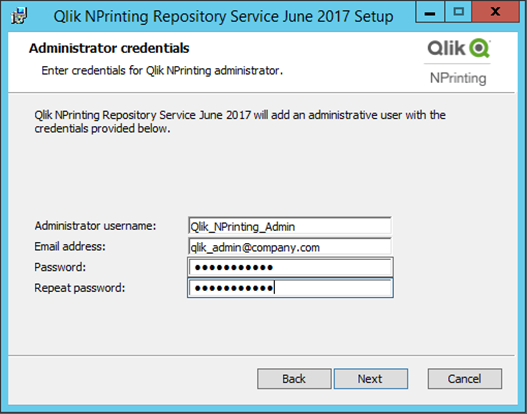 Warning noteSave these credentials. You cannot retrieve them later.
- Click Next.
- Enter the following to create a Qlik NPrinting user with administrative privileges:
-
Click Install.
A screen indicating that the repository database setup is complete appears.
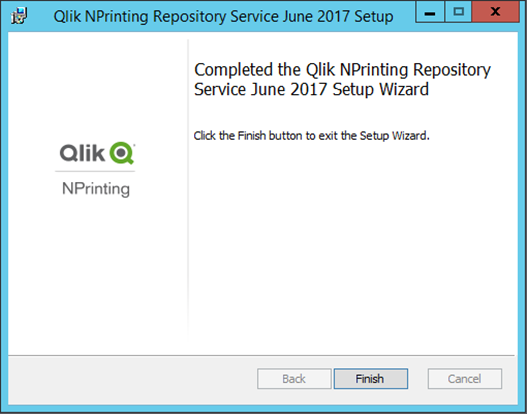
- Click Finish.
- On the Qlik NPrinting Server Welcome page, click Next.
- On the Installation options screen, select your preferred program shortcut locations and click Next.
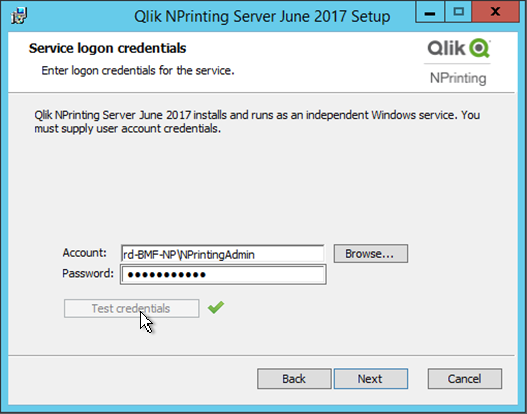
- On the Service logon credentials screen, type the credentials for the user that you created in Creating:
- Account: Enter the Domain and User name in this format Domain\User name. You can use the Browse button to search for the user.
- Password: Enter the user's Password.
- Click Test Credentials to verify that the user credentials are valid.
If the log on credentials are validated successfully, the Test Credentials button is grayed out and a green check mark appears next to it.
- Click Next.
- Click Install.
- Click Finish.
The Setup Successful screen appears.
- Click Close.
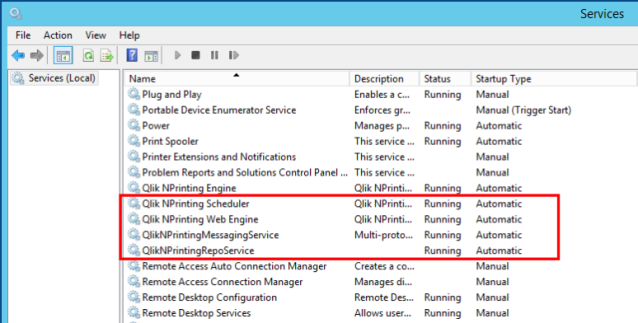
Qlik NPrinting Server installs four Windows services that must be running:
- Qlik NPrinting Scheduler
- Qlik NPrinting Web Engine
- Qlik NPrinting messaging service
-
Qlik NPrinting RepoService
To open the Qlik NPrinting web console, point you web browser to https://YourServerName:4993, and then log in with the administrator email and password that you set up. To open the NewsStand, point your web browser to https://YourServerName:4994, and then log in with the same email and password.
You are now ready to install Qlik NPrinting Engine. See: Installing Qlik NPrinting Engine.