
Adding a source and target endpoint to a task
Once you have added the endpoints, you can design the replication task. The first step in this process is to define the source endpoint where your data is currently stored and the target endpoints where you want to replicate the data. To do this, you just drag one of the endpoints you added into the task map (in Designer mode).
Once you select the endpoint for your task, you must select the tables from the source endpoint to be replicated. The next step in creating a replication task is Selecting tables and/or views for replication.
To add source and target endpoints to a task:
-
Do one of the following:
- Create a new task. When you click OK in the Create New Task dialog box, the task opens on a dedicated tab. For more information, see Adding tasks.
- In the Tasks view, select the task to which you want to add endpoints and click View Task. The task opens on a dedicated tab.
-
On the dedicated tab for the task, click Designer to switch to Designer mode.
The Task map is displayed, with the available endpoints listed in the pane on the left, as shown in the following figure.
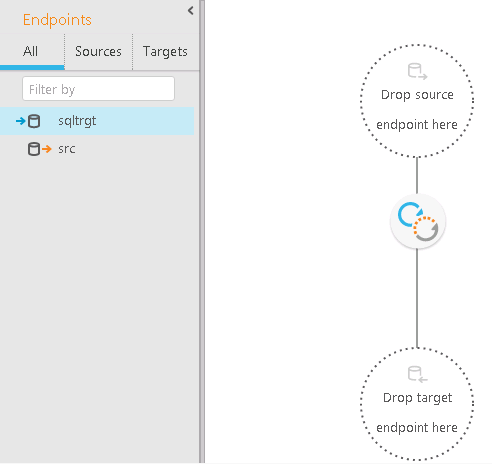
- Drag a source endpoint to the top circle in the task map (that contains the text Drop source endpoint here). If dragging is not possible, make sure that the endpoint you are using is defined as a source endpoint.
- Drag a target endpoint to the bottom circle in the task map (that contains the text Drop target endpoint here). If dragging is not possible, make sure that the endpoint you are using is defined as a target endpoint.
- Click Save.