
Adding and managing your analytics data
Add data files and connections from your data sources to your spaces in the Qlik Cloud Analytics hub. You or other users can then use them to add data in apps and scripts.
Apps and scripts require sources of data. Qlik Cloud Analytics supports two kinds of data sources:
-
Datasets: You can upload data files to Qlik Sense, which are stored in Qlik Cloud. Qlik Sense automatically adds an additional layer of metadata to uploaded data files, creating datasets. You can also create datasets for tables from existing data connections in the hub.
The metadata added to a dataset enables you to use additional Qlik Sense tools for managing your data in the hub, including catalog tools and other resources. For more information on cataloging, see Understanding your data with catalog tools.
Qlik Sense supports the following file types:
-
Text files: Data in fields must be separated by delimiters such as commas, tabs, or semicolons. For example: comma-separated variable (CSV) files.
- HTML tables
-
Excel files
Information noteYou cannot load data from password-protected Excel files, or Excel Binary Workbook files (.xlsb).For more information, see Loading data from Microsoft Excel spreadsheets.
-
XML files
-
Qlik native QVD and QVX files
For more information, see Working with QVD files.
-
Apache Parquet files
For more information, see Working with Apache Parquet files.
- Fixed record length files
-
Data Interchange Format (DIF) files: DIF files can only be loaded with the data load editor.
-
Geographic data files:
-
GEOJSON
-
ESRIJSON
-
GML
-
KML
-
SHPZIP
-
DXF
-
For a summary of where in Qlik Cloud you can add different file types as datasets, see Dataset support in Qlik Cloud.
Data files can be up to 100 GB. However, when uploading very large data files (over 6 GB), you might experience constraints with engine capacity. These constraints are more likely to be encountered with QVD data files due to the memory usage necessary to load QVD files into the engine. For more information about increasing the capacity available, see Large app support.
-
-
Data connections: Connections allow you to bring data from external data sources, such as databases or remotely stored files, into apps. You can create datasets from connections. For more on supported data sources, see Data sources in Qlik Sense SaaS.
Add datasets and data sources in the hub by clicking Add new and selecting Dataset or Connect to data. Once added, they can be managed from Data sources in their space. For more information, see Managing data sources in spaces.
Datasets and connections can be used in apps with Data manager, Data load editor, or the data catalog. Datasets and connections to data sources can also be added inside an app with Data manager or Data load editor. For information on working with datasets and connections with Data manager, Data load editor, or the data catalog, see:
Datasets and connections can be used in scripts with Script editor. Datasets and connections to data sources can also be added inside a script in Editor. For more information on working with scripts, see Using Script editor.
Datasets and connections to data sources can also be added in Data manager and Data load editor while you are working on an app. For more information, see:
Data and spaces
When you add datasets and connections, you must select a destination space. Spaces are private, such as your personal space, or they are communal spaces with other users, such as shared or managed spaces. Adding data sources to shared or managed spaces allows other users to access your data sources and use them in their own apps. Access to data can be controlled for different space members through space permissions. For more information on spaces, see Working in spaces.
You can manage datasets or connections in a space by clicking Space details and selecting Data sources.
If you have on-premise data sources you want to use in your tenant, you can upload them to spaces using Qlik DataTransfer. For more information, see Uploading on-premises data with Qlik DataTransfer.
Adding datasets from local files
For supported file types, see Loading data from files.
Data files must be 6 GB or less.
Do the following:
- Click Add new and select Dataset.
- Click Upload data file.
-
Drag and drop your data files into the Add file dialog.
Alternatively, click Browse and navigate to your data files.
- Select a destination space for the files.
-
Click Upload.
Alternatively, to create an app from your dataset immediately, click Upload and analyze.
When importing a dataset file into a Qlik Sense app or space with Data manager (drag-and-drop or other direct uploads), the maximum number of fields that can be loaded is 5000.
Adding datasets from existing connections
Create datasets from existing ODBC connections. When you create a dataset, you pick a database from the data source and then select tables in that database. A dataset is created for each table you select. Datasets created this way refresh their data every time the dataset is opened.
Creating datasets from connections allows you to use cataloging and lineage options with data from your external data sources.
Datasets created from a connection must reside in the same space as the connection to that data source. If the dataset is moved to a space without that connection, only the dataset name and limited metadata is available from the dataset.
Do the following:
-
Click Add new and select Dataset.
-
Select a connection to a data source from the available connections and click Next.
-
Under Database, select the database containing the tables for which you want to create datasets.
-
Under Tables, select the tables to create datasets from. Each table will make a new dataset.
-
Click Next.
-
Select the destination space for the data set from Select space.
If the space does not have access to your selected connection, you need to select Create new connection in <space name>.
-
Click Create datasets.
Adding datasets from new connections
Add a new ODBC connection and create a dataset from it.
Datasets created from a connection must reside in the same space as the connection to that data source. If the dataset is moved to a space without that connection, only the dataset name and limited metadata is available from the dataset.
Do the following:
-
Click Add new and select Dataset.
-
Click Create connection.
-
Select the destination space for the connection.
-
Under Data sources, select the data source.
-
Add the details for the connection.
-
Enter the connection settings for the data source.
For information about supported connections, see Loading analytics data.
-
Click Create.
-
Select the connection from the available connections and click Next.
-
Under Database, select the database containing the tables for which you want to create datasets.
-
Under Tables, select the tables to create datasets from. Each table will make a new dataset.
-
Click Next.
-
Select the destination space for the data set from Select space.
If the space does not have access to your selected connection, you need to select Create new connection in <space name>.
-
Click Create datasets.
Adding new connections
For information about supported connections, see Loading analytics data.
Do the following:
- Click Add new and select Data connection.
-
Select a data connection.
The settings dialog, specific for the type of data source you selected, opens.
- Select a destination space for the connection.
- Enter the connection settings for the data source.
- Optionally, click Test connection to confirm your settings.
- Do one of the following:
To create the data source, click Create.
To create the data source and load data from it into a new app, click Create and analyze.
A new app with the same name as the connection is created and opens to Data manager.
For information on using Data manager, see Loading and managing data with Data Manager.
Managing data sources in spaces
You can view the available datasets and data sources in a space by clicking Space details and selecting Data sources.
In Data sources, you can do the following:
-
Add datasets and data connections
-
Duplicate datasets
-
Move datasets
-
Delete datasets and data connections
Shared space members with Owner, Can manage, Can edit, and Can edit data in apps roles can manage data sources in that space. Managed space members with Owner or Can manage permission can manage data sources in that space. Space members with the Can consume data role can view data sources in the space, and they can consume the data sources where they have permission to create apps.
Adding data files to spaces
You can add data files as datasets in Data sources.
Data files can be up to 100 GB. However, when uploading very large data files (over 6 GB), you might experience constraints with engine capacity. These constraints are more likely to be encountered with QVD data files due to the memory usage necessary to load QVD files into the engine. For more information about increasing the capacity available, see Large app support.
Do the following:
- In a space, click Space details and select Data sources.
- Click Add file.
-
Drag and drop your data files into the Add file dialog.
Alternatively, click Browse and navigate to your data files.
- Click Upload.
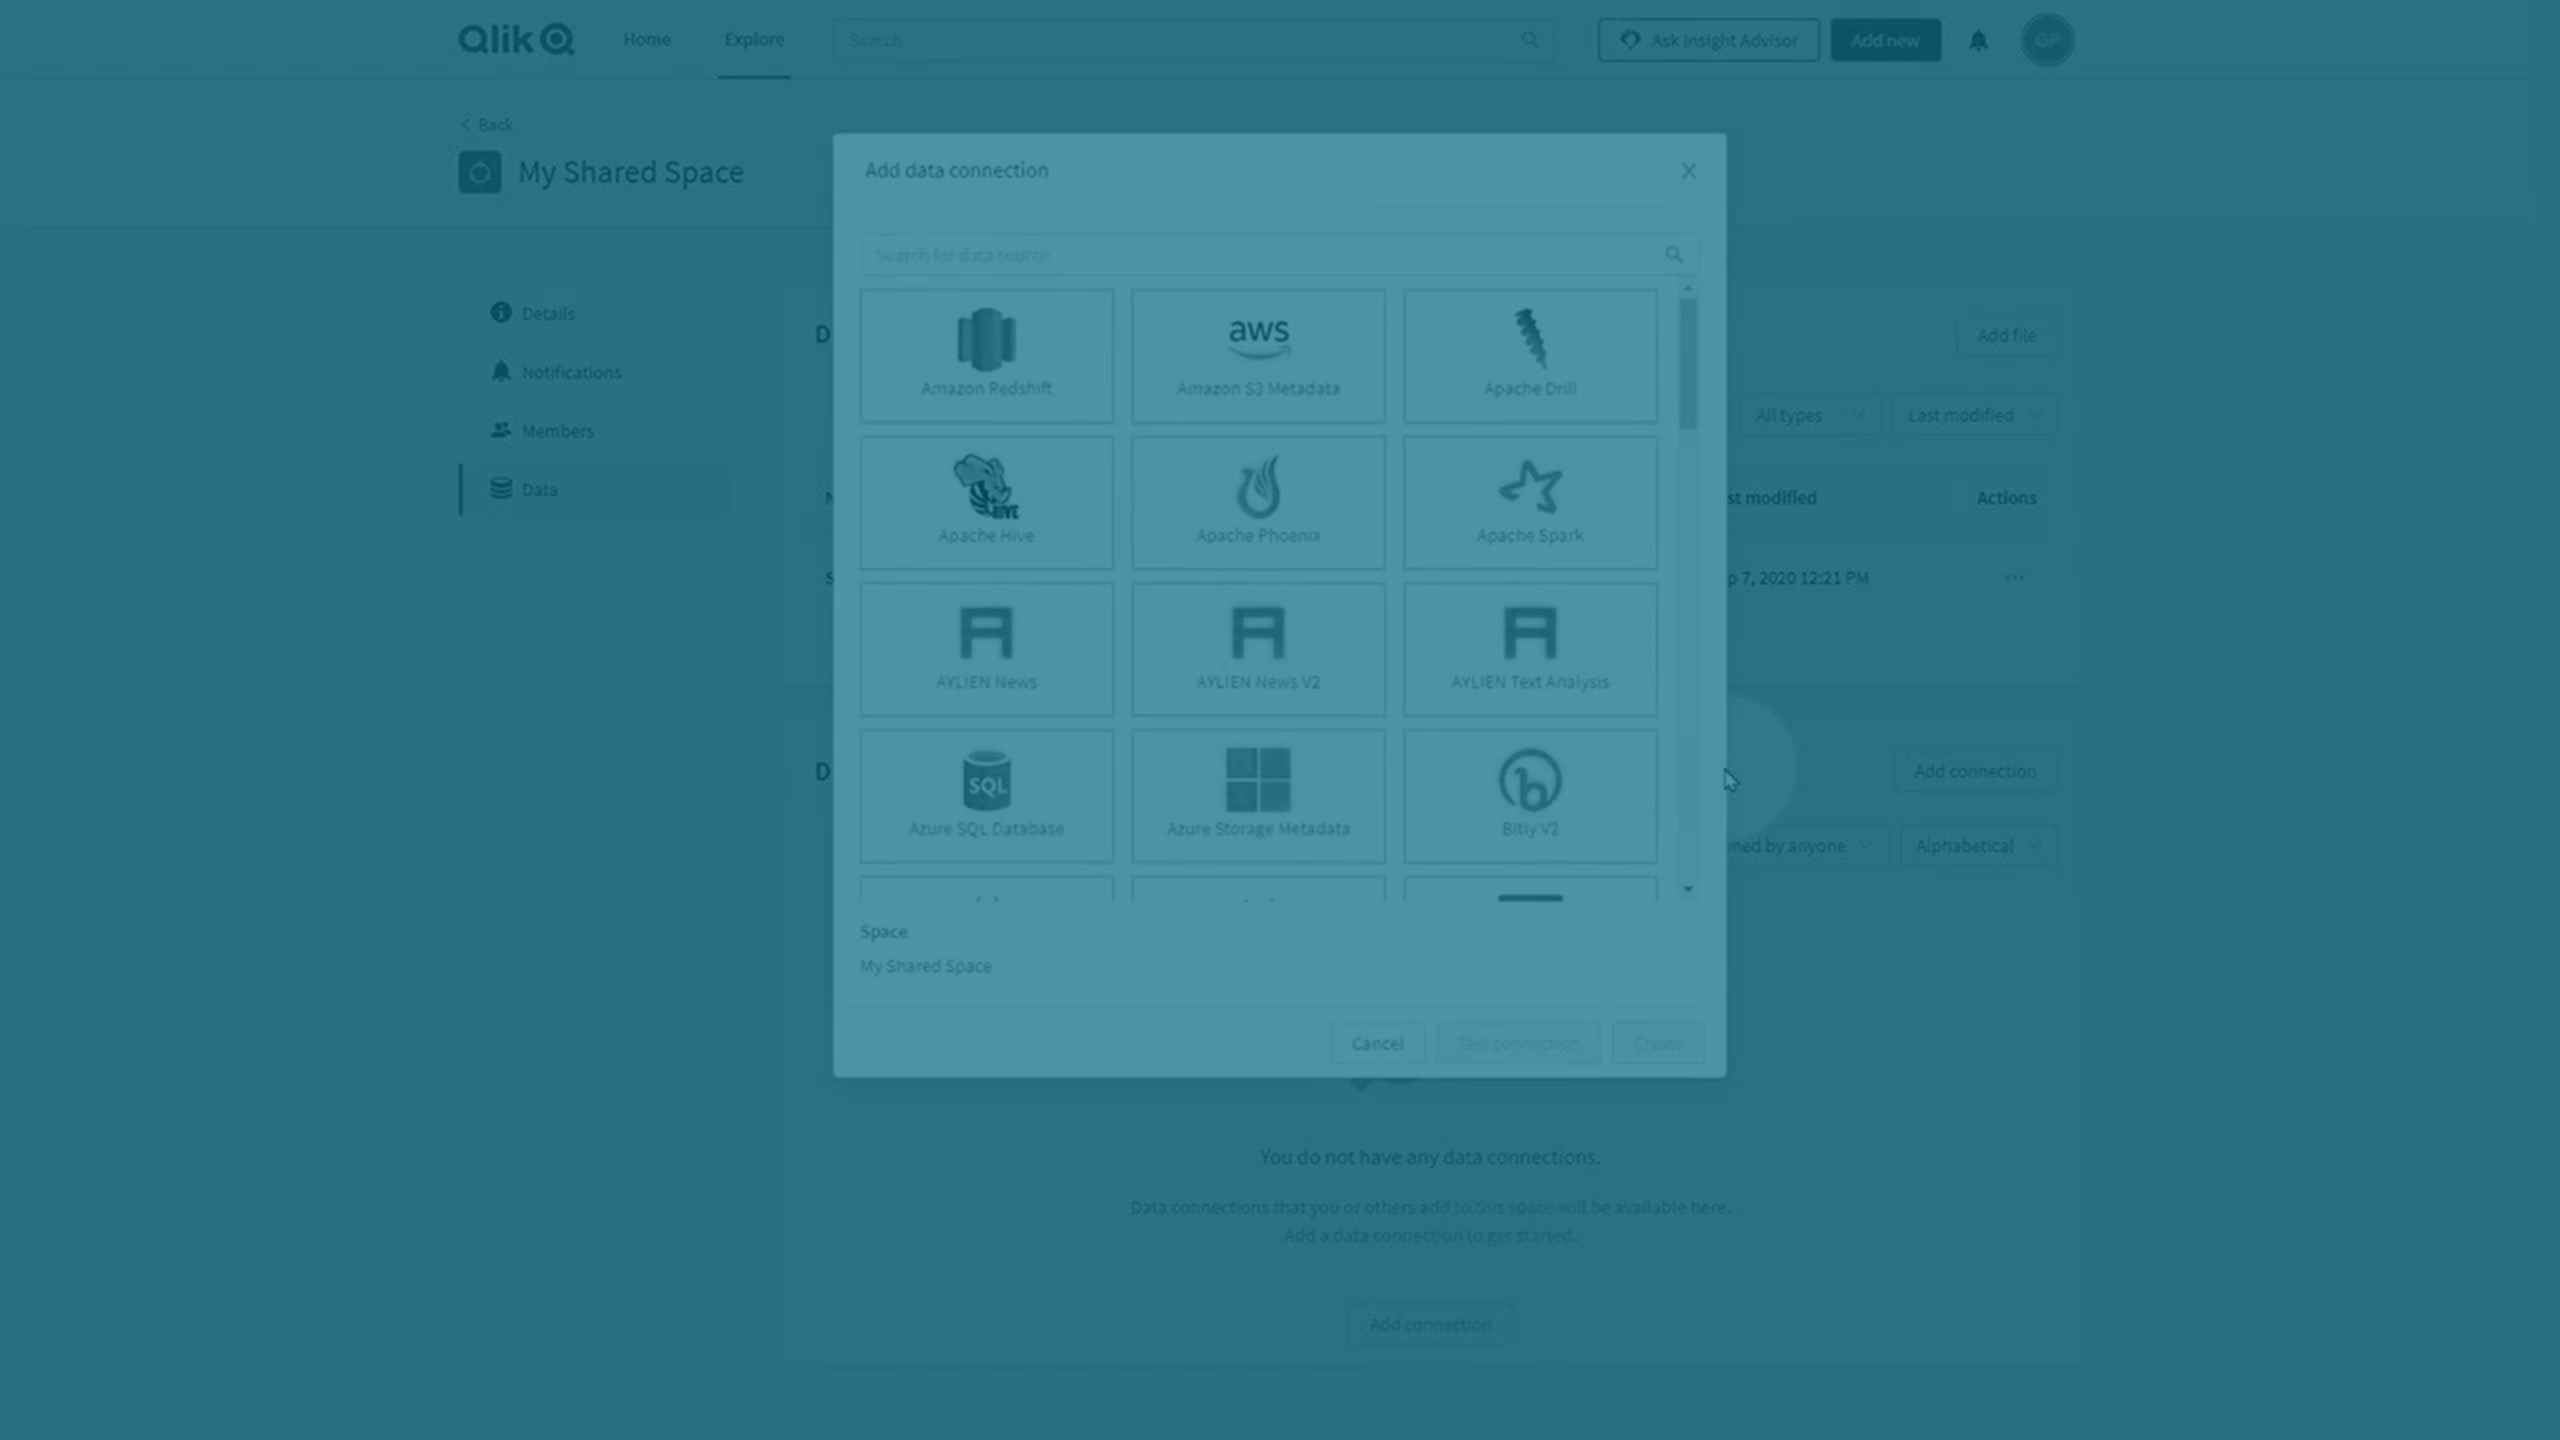
Adding connections to spaces
You can add connections to data sources in Data sources. Network File System (NFS) connections cannot be added directly in a space and must be added in an app.
For information about supported connections, see Loading analytics data.
Do the following:
- In a space, click Space details and select Data sources.
- Click Add connection.
-
Select a data connection.
The settings dialog, specific for the type of data source you selected, opens.
- Enter the connection settings for the data source.
- Optionally, click Test connection to check your settings.
- Click Create.
Editing data resources
Edit data connections in Data sources. User credentials are cleared each time you edit a connection.
Do the following:
-
In the Actions column, in the row of the data connection you want to edit, click
 and select Edit.
The settings dialog, specific for this type of data connection, opens.
- Edit the connection settings for the data source.
- Click Save.
Duplicating data files
Do the following:
-
In the Actions column, in the row of the data file, click
and select Duplicate.
Moving data files
Do the following:
-
In the Actions column, in the row of the data file, click
and select Move. - Select the new space from Space.
- To open to the new space after moving the data file, select Navigate to space.
- Click Move.
Moving data connections
Once a data connection has been created in a space, it is not possible to move the connection to another space unless you have access to the Management Console as a tenant admin, analytics admin, or data admin. To move an existing data connection to another space, contact an administrator or create a new connection in the desired space with the same settings as the existing connection.
For documentation about how an administrator can move a connection, see Moving data connections.
Deleting data sources
You can delete a data source from a space.
-
In the Actions column, in the row of the data source you want to delete, click
and select Delete. - Click Delete.