
Creating a connection and selecting data
To select and load data from the Qlik Web Connectors, you must have access credentials for the data source that you want to connect to. Once you create a connection and authenticate it with your access credentials, it is stored under Data connections in the Data load editor or Data manager.
Creating a data source connection
Data load editor
Do the following:
- Under Prepare, click Data load editor.
- Click on Create new connection.
- Select the connector.
Data manager
You can also create a data source connection by clicking Add data.
Not all connectors support connections in the Add data interface, and the tables available may vary from the tables available in the Data load editor. See the list of tables on each connector page for details.
Do the following:
-
Under Prepare, click Data manager.
Click + or Add data.
-
Select the connector.
Account properties
Credentials
Credentials are used to prove that a user is allowed to access the data in a connection.
There are two types of credentials that can be used when making a connection in Qlik Sense SaaS. If you leave the User defined credentials check box deselected, then only one set of credentials will be used for the connection. These credentials belong to the connection and will be used by anyone who can access it. For example, if the connection is in a shared space, every user in the space will be able to use these credentials. This one-to-one mapping is the default setting.
If you select User defined credentials, then every user who wants to access this connection will need to input their own credentials before selecting tables or loading data. These credentials belong to a user, not a connection. User defined credentials can be saved and used in multiple connections of the same connector type.
In the Data load editor, you can click the ![]() underneath the connection to edit your credentials. In the hub or Data manager, you can edit credentials by right-clicking on the connection and selecting Edit Credentials.
underneath the connection to edit your credentials. In the hub or Data manager, you can edit credentials by right-clicking on the connection and selecting Edit Credentials.
See which authentication type applies on each connector's page.
Authenticating the connector
Once you have selected the Source type, you need to authenticate the data connection by logging in with your account details. This allows you select data from your data source and load it into your Qlik Sense app.
Do the following:
- Click Authenticate.
- Enter your account login credentials.
- Click Verify.
- Enter a name for this connection.
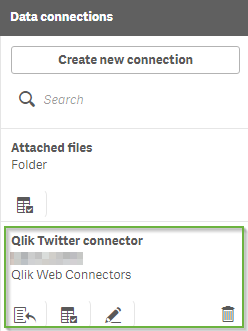
After you finish creating the connection, it will appear in the list of Data connections. Click ![]() to open the data connection and select your data.
to open the data connection and select your data.
If your connection uses an authentication token that has an expiration date, you will need to re-authenticate the connector before it expires. You will not be notified before the token expires. The expiration date is displayed under Account details after you verify the authentication token.
Selecting data from tables
Once you have created and authenticated a connection, you can select and load data from a data source. Click ![]() to open the Select data to load dialog. The data selection and load process is similar for all data sources.
to open the Select data to load dialog. The data selection and load process is similar for all data sources.
Do the following:
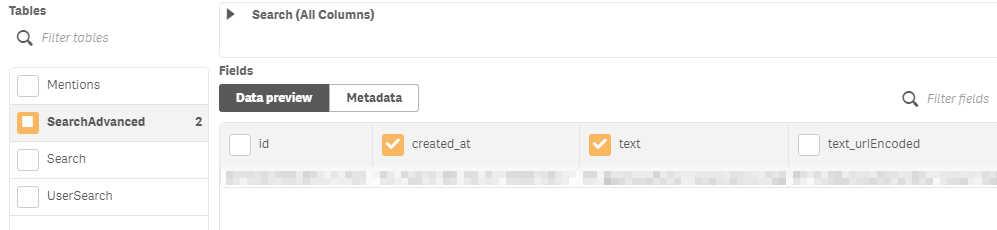
- Select a table from the Tables column.
-
Enter the table parameters.
Required parameters are marked with a *.

-
Click Data preview to see a sample of your data and to select the table fields that you want to load.
You can choose individual fields by selecting the box beside each field name or you can select all table fields by selecting the box beside the table name.
-
Click Insert script to add the script to your Data load editor.
-
Repeat the steps to add data from other tables.