Business metadata export and import
It can be a time-consuming and tedious process to update business metadata particularly when the sources contain hundreds or thousands of data elements. Qlik Catalog provides a utility that lets users manage updates to business metadata outside of the product faster and with more efficiency. To update business metadata for sources, entities, and fields, users can first either export business metadata to a CSV file from a source (source, entity, and fields) in their environment and then import modified metadata (modified with a tool like Excel) back into Qlik Catalog for a round-trip metadata update. Alternately users can upload a CSV file for a one-time update.
If you are exporting the CSV file to modify it, the structure is already defined. The CSV file should have columns detailing target Object Type (EXTERNAL for source objects, INTERNAL for discover objects), Source, Entity, and Fields along with metadata for Business Name, Business Description, Technical Description, Tag 1, Tag 2, Tag 3, Tag 4, and so on; there is no limit to the number of tags that can be applied at source, entity and field levels. Business metadata import supports overwrite of source, entity and field tags. For more information, see Overwriting tags.
For information on import of business metadata for custom fields, see Extended business metadata import support for XLS import of custom field values.
The following example demonstrates a round-trip metadata update where a user:
- Exports business metadata to a CSV file
- Makes changes to the metadata CSV file using a tool like Excel
- Imports the modified business metadata back into Qlik Catalog
Business metadata values will be mapped to the specified object-level(s) in the spreadsheet. For example, if the source and entity names are provided in the spreadsheet in their respective columns, all of the metadata values for Business Name, Business Description, Technical Description, Tag 1, Tag 2,Tag 3, Tag 4, and so on, will be inserted at those levels. Business Name column MUST be filled in: null values are not allowed in this column.
Users should be aware that business metadata import will overwrite values in place for Business Name, Business Description, and Technical Description fields even if those cells are blank in the spreadsheet. By default, the tag fields are additive and will not overwrite tags that are in place.
Cell values in the Technical Description column behave and populate differently depending on whether they are applied at the source, entity, and field levels.
source: NOT IN USE. Cell values in a source row (a row with only a source name entry) in the Technical Description cell will be ignored.
entity: Short Name. Cell values in an entity row (a row with a source and entity name entry) in the Technical Description cell will be imported into the entity's Short Name field.
field: Technical Description. Cell values in a field row (a row with a source, entity, and field name entry) in the Technical Description cell will be imported into the field's Technical Description field.
All other business metadata is imported as expected.
Exporting business metadata
Do the following:
-
Go to Admin>Import / Export Metadata tab.
-
Select the Import / Export Metadata dropdown and select the Export button.
-
Click on the Please Select dropdown and select Business Metadata.
-
Select Next.
-
Select the source(s) that you want to export the business metadata file from.
-
Select Ok. This action downloads a business metadata file to your default downloads directory. Open the file.

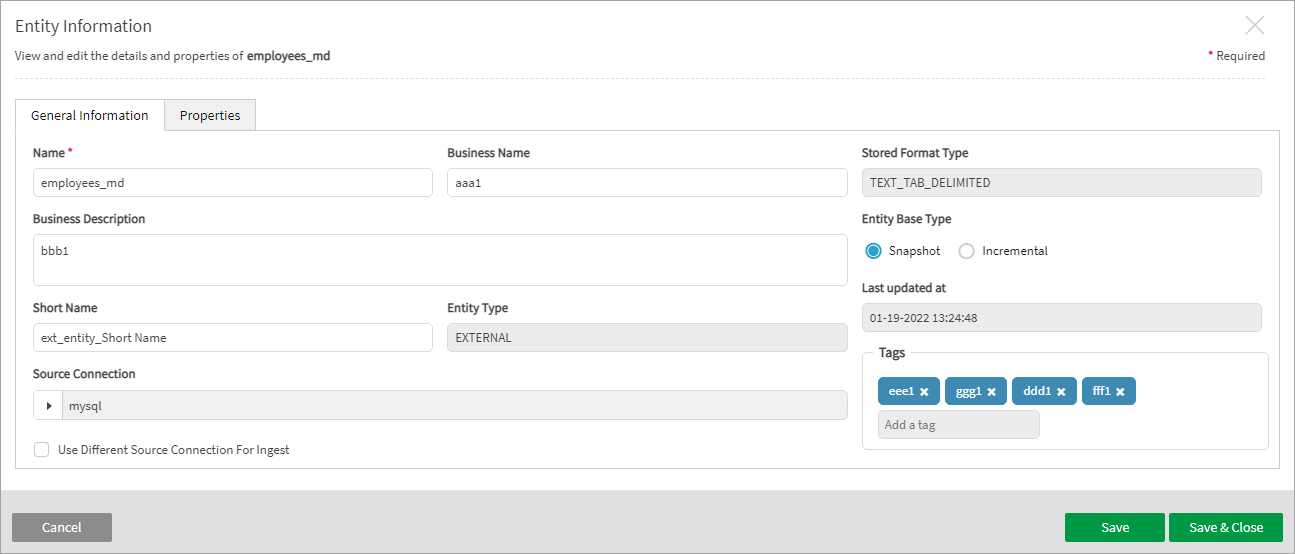
External entity details before business metadata edits

Editing business metadata
Do the following:
-
Edit the CSV to modify the business metadata for import. If you are doing a one-time import of business metadata it is still recommended to export from the source first so the correct structure is in place. Save the modified CSV locally. If the business metadata values are identical for internal (discover) and external (source) objects, one row with the Object Type column value ALL is applied to both (on import only).
Image example: Modified business metadata spreadsheet

Importing business metadata
Do the following:
-
Go to Admin>Import / Export Metadata tab.
-
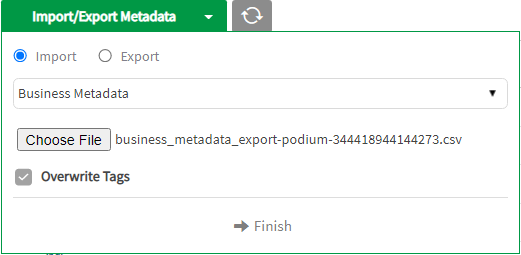
Select the Import / Export Metadatadropdown and select the Import button.
-
Click on the Please Select dropdown and select Business Metadata.
-
Choose File: Navigate to and select the modified business metadata CSV file.
-
Select Finish.
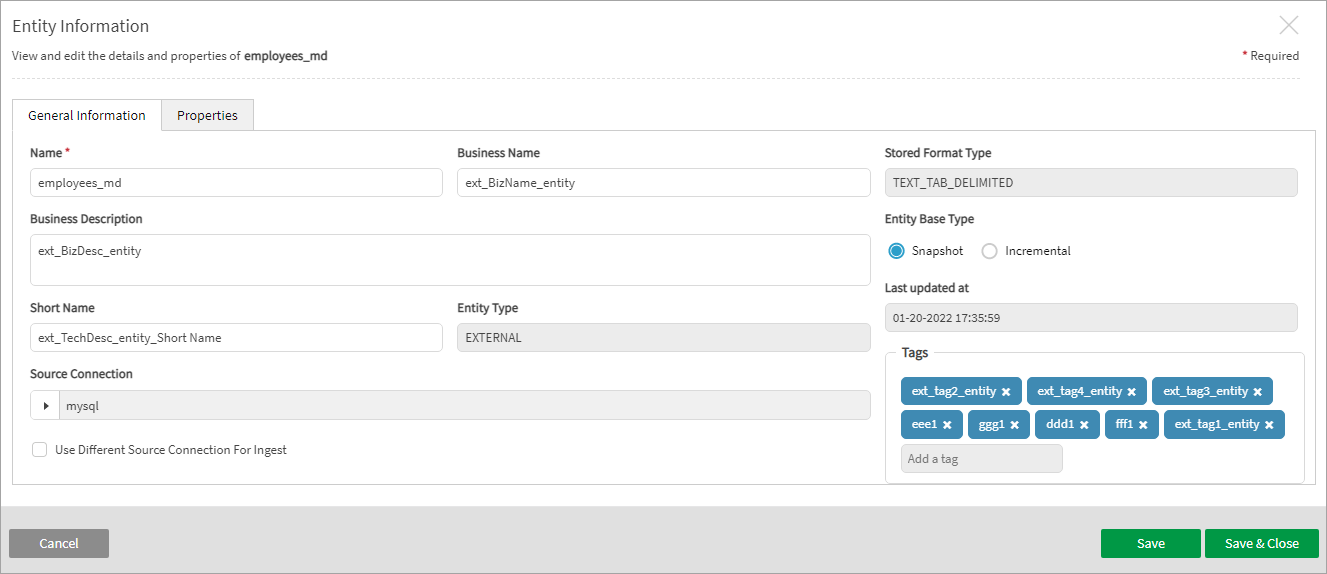
External entity details after business metadata edits

Overwriting tags
Source, entity, and field tags can be overwritten for an entire metadata import or on a row-by-row basis. If either the Overwrite Tags global checkbox is checked or a row in the spreadsheet is set to true or TRUE in an Overwrite Tags column, then the tag values entered in the cells (Tag 1, Tag 2, etc.) at field, entity, or source level will overwrite the tags in place or populate new tags for the object if there were previously no tags. If no tags are supplied in the sheet and either the global checkbox is checked or the Overwrite Tags column value is true, any previously defined tag set is cleared.
The Overwrite Tags column is optional and can be inserted between Technical Description and Tag 1 columns. When the Overwrite Tags column is present, the true or TRUE value can be entered in as many or few cells in the column as needed—all rows, none, just one row, or any combination.
Global checkbox for Overwrite Tags

CSV example: Overwrite Tags column

