
Dynamic Field Mapping in a Template
When you build automations (integrations) inQlik Application Automation for OEM, you apply field mappings all the time. Here's a typical example where you map outputs from one block to inputs of another block:
Mapping outputs to inputs.
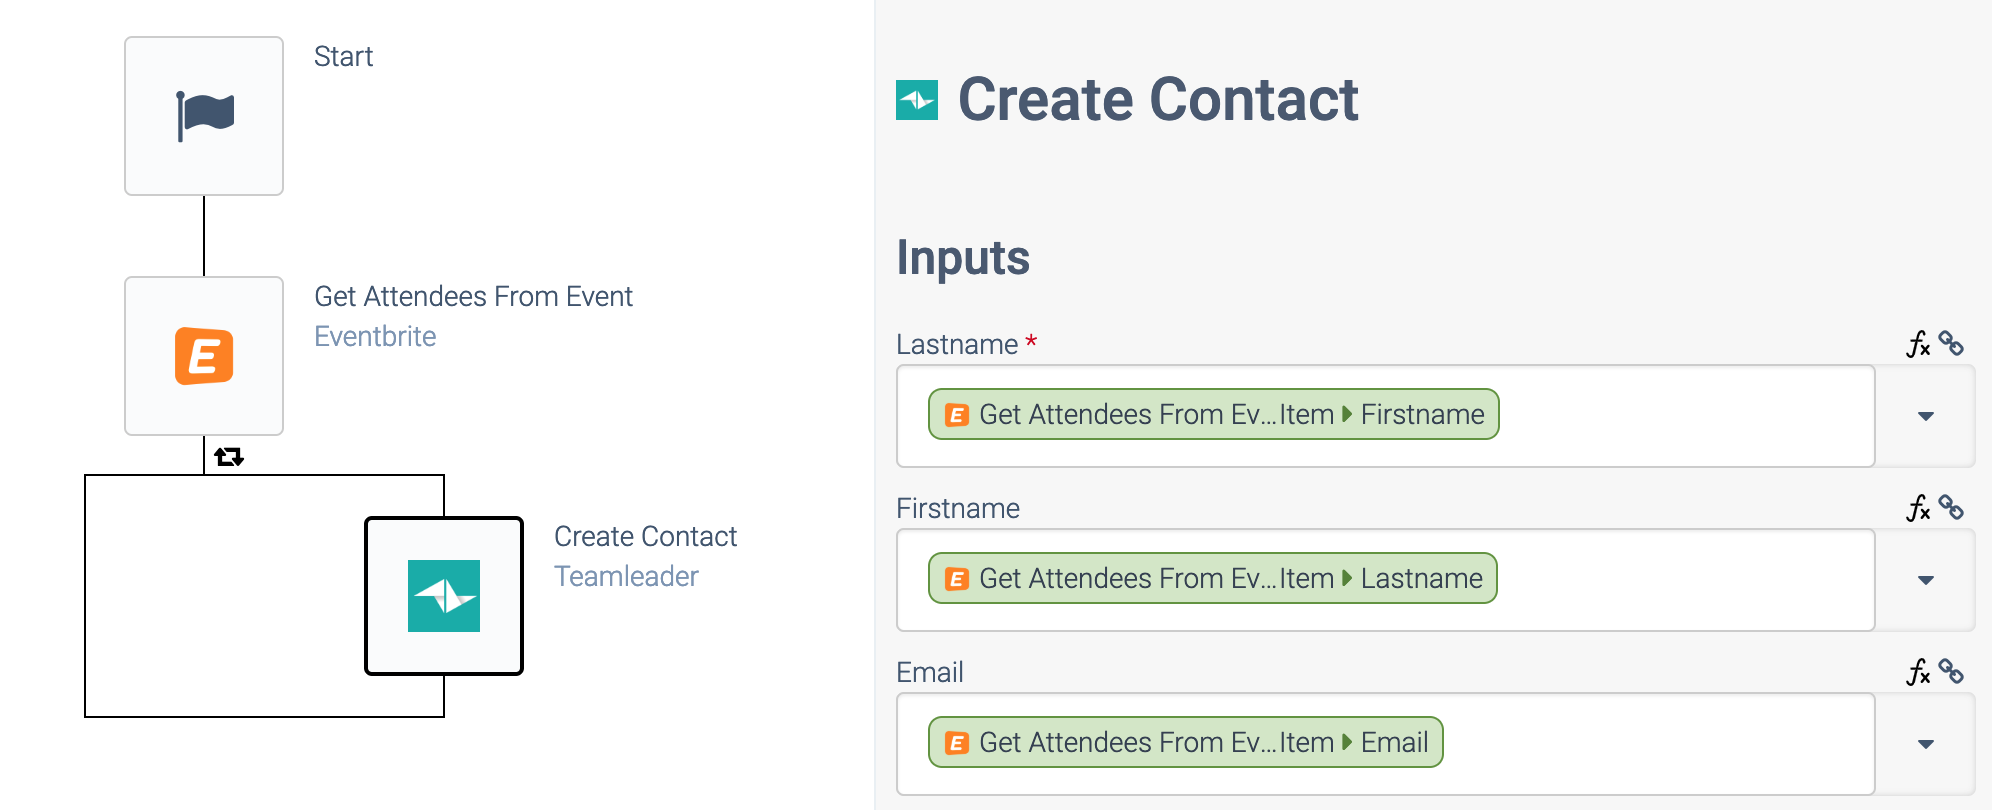
These are static
field mappings because they cannot be changed by an end-user that would activate this integration from a template.
Therefore, it is possible to add a dynamic Field Mapping in the Setup Wizard of an integration template. This means that the user will be able to configure their own Field Mapping, and this Field Mapping will be used in the actual data sync in the Blend.
Click here for more information on How to create integration Templates how to create Templates and how to create a Setup Wizard for a template.
Dynamic Field Mapping in a Setup Wizard of a Template
When you add a dynamic field mapping in a Setup flow of a Template, this is what it looks like for the user:
User's view of dynamic field mapping.
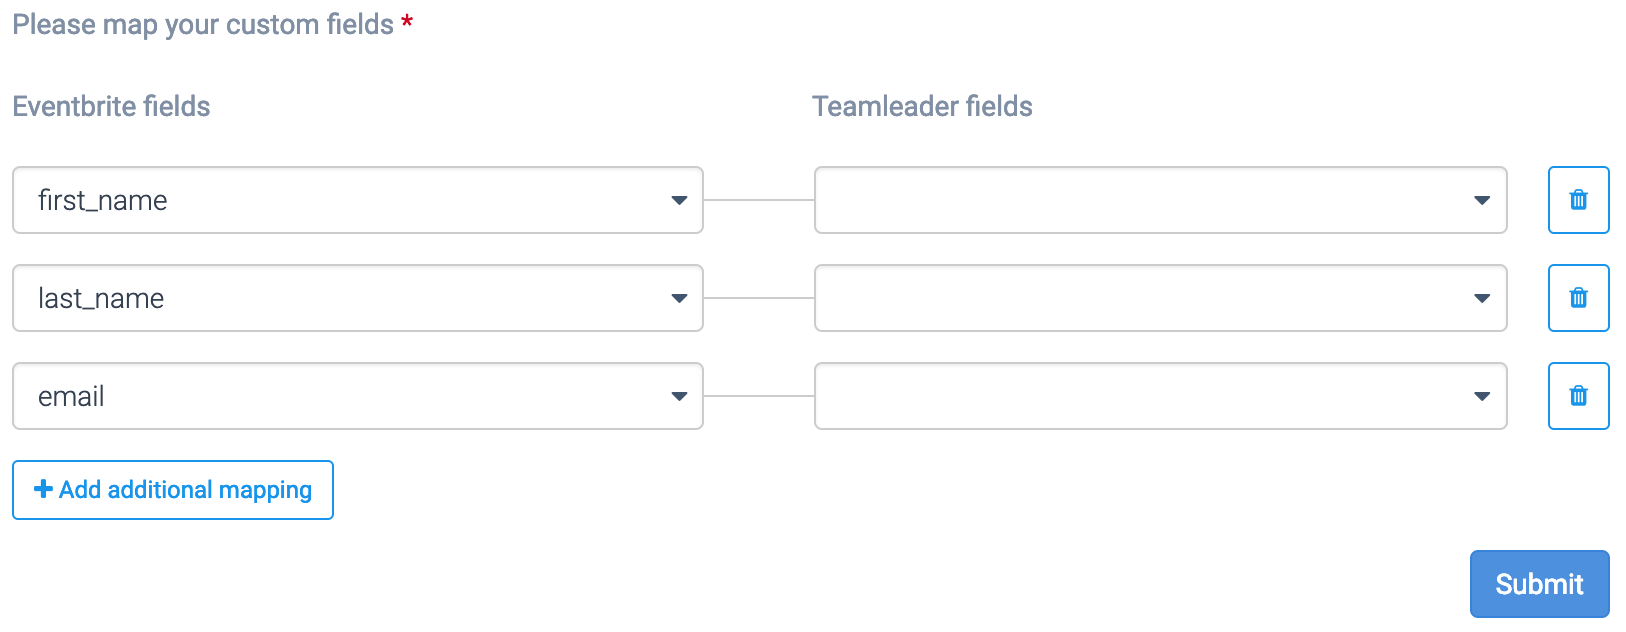
The user can choose which fields from an input (in this example Eventbrite Attendees) are mapped to which fields of output (in this example Teamleader Contacts).
How to add a Dynamic Field Mapping
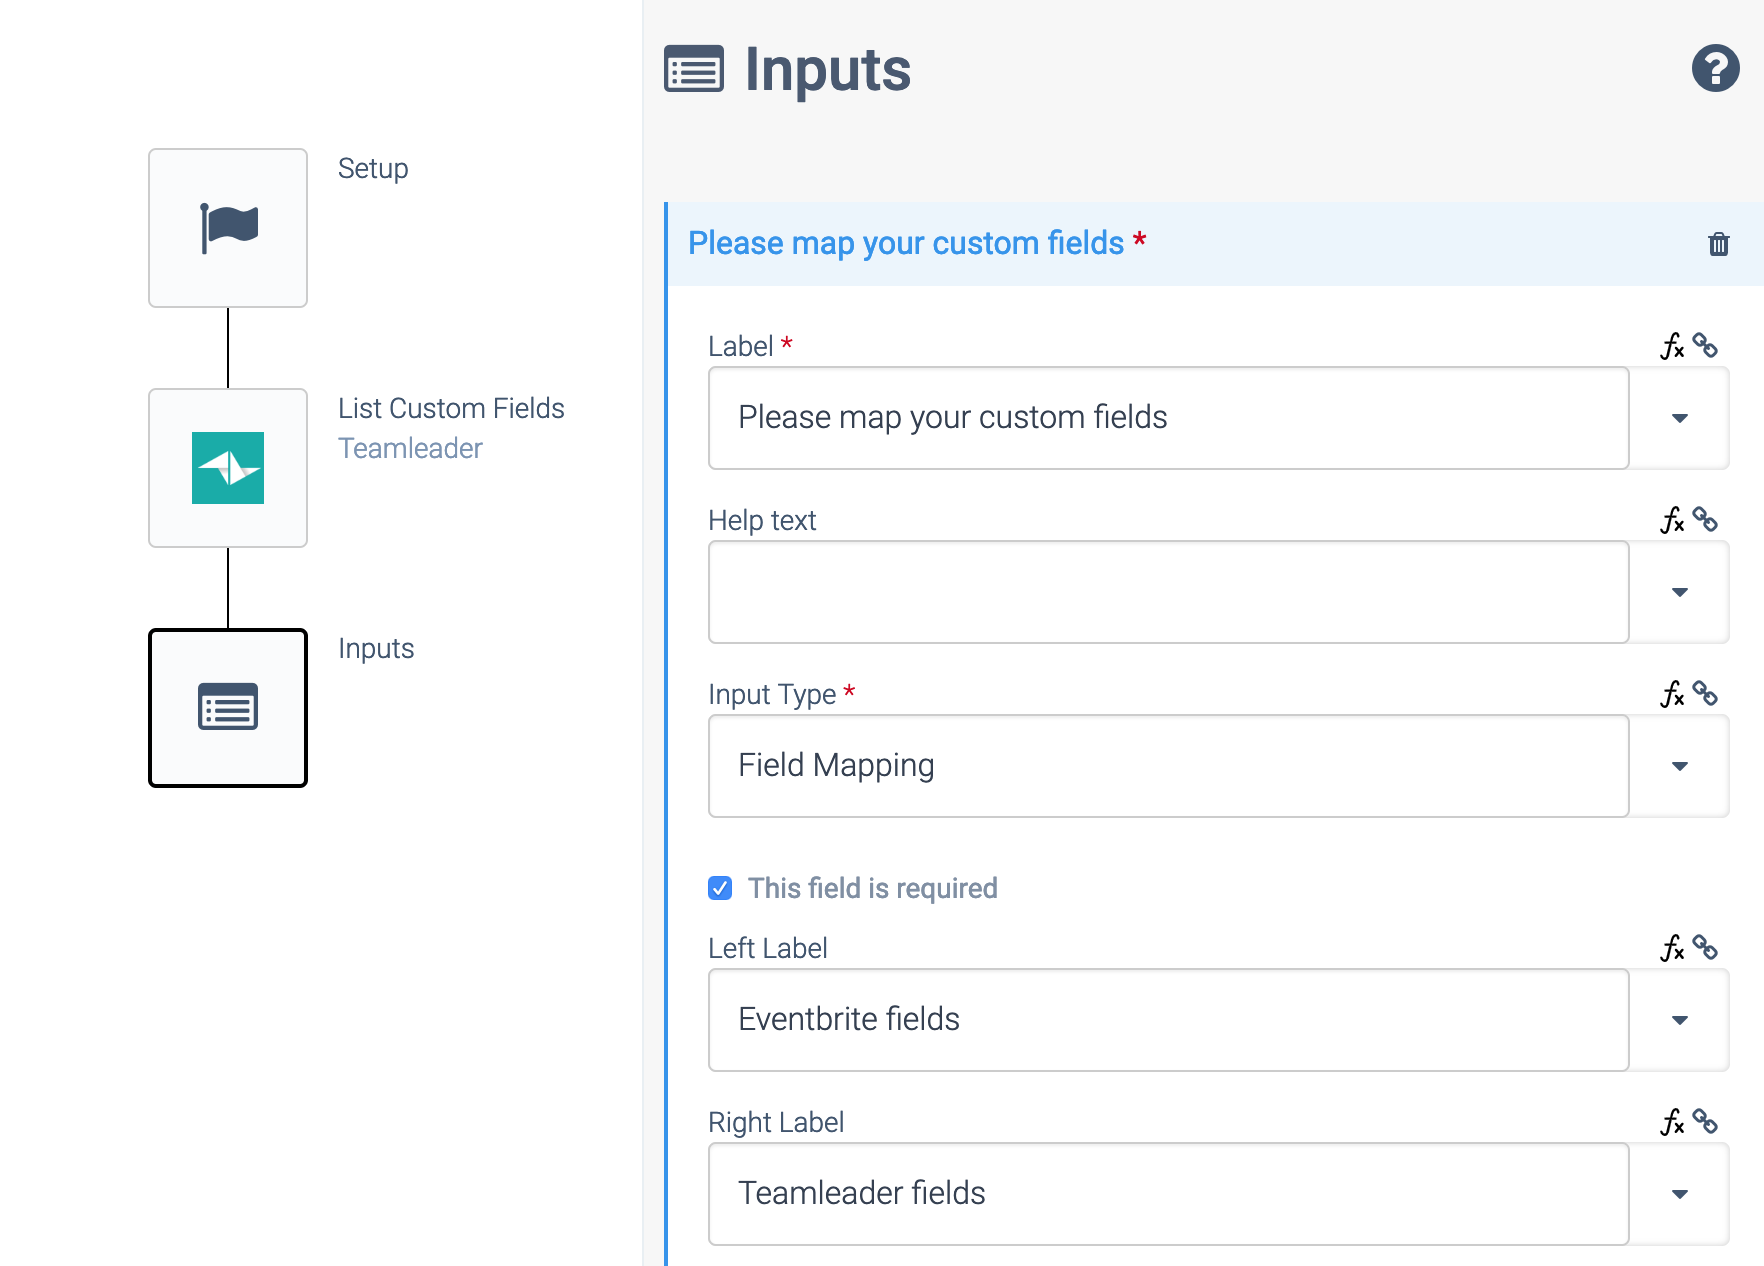
Add an input block to the Setup Flow, and add input of type Field Mapping:
Adding a dynamic field mapping.
Add a list of possible field names (keys
) for the left-hand side and right-hand side:
Adding field names.
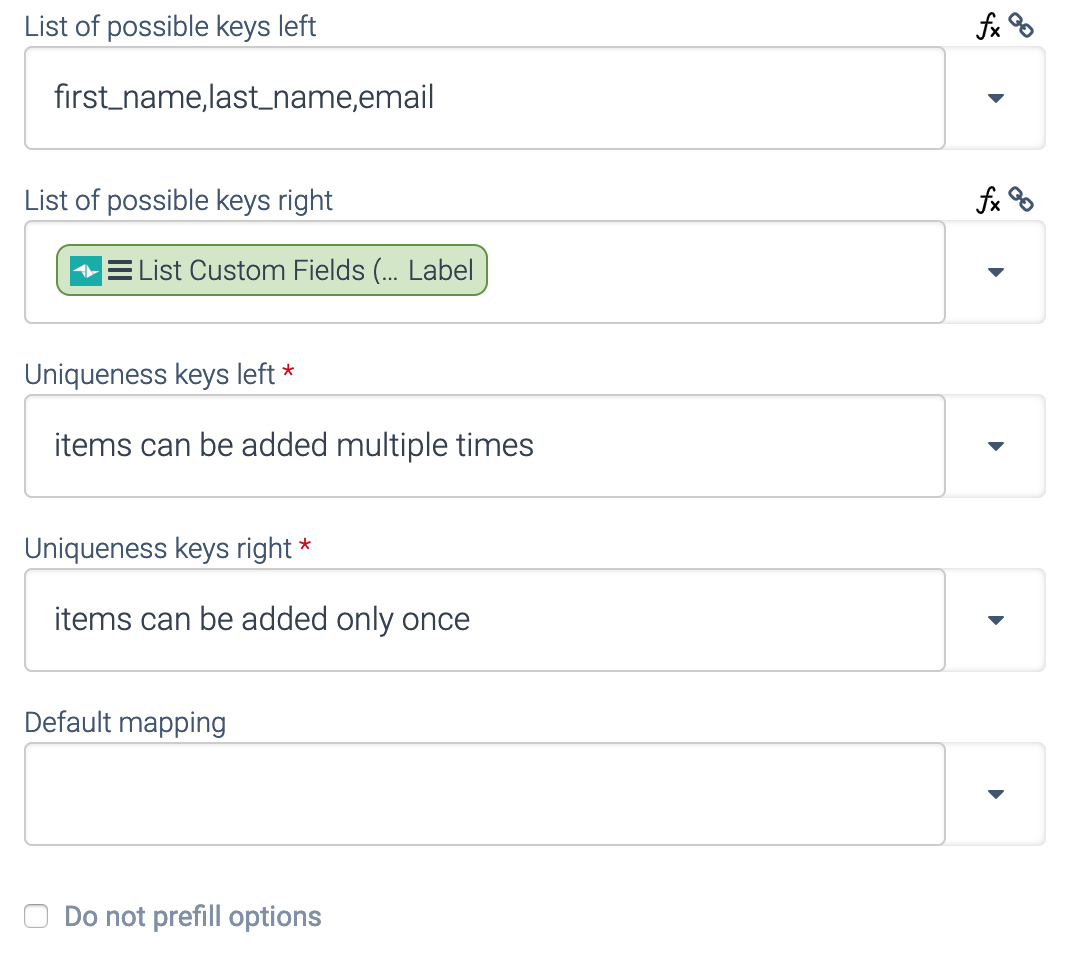
The list of available keys can be a fixed list, which can be comma-separated or it can be an actual list/array.
The list of available keys can also be a dynamic list, such as in the above example for the keys on the right-hand side. Note that we first retrieved the list of custom fields in the Setup Flow (Block Teamleader List custom fields
), and then we use the response in the Input block.
Make sure that the dynamic list only contains strings and not objects.
Allowed format for list:
[ "firstname", "lastname", "company" ]
Not allowed format for list:
[ {"fieldname":"firstname"}, {"fieldname":"lastname"}, {"fieldname":"company"} ]
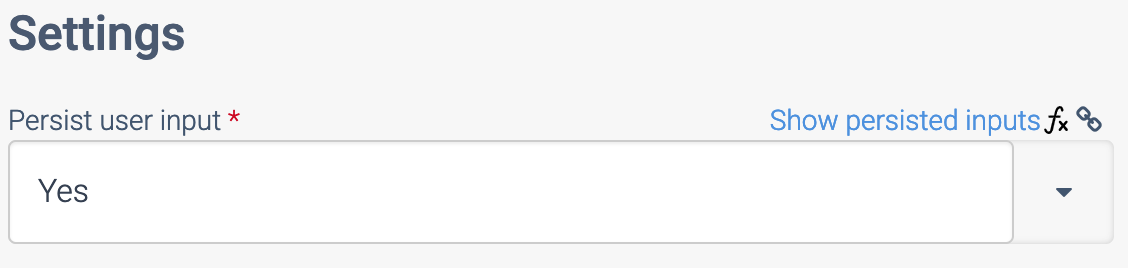
Make sure to persist all inputs in the Setup Flow:
Persisting user inputs.
You can optionally define a default mapping, the default mapping should have the following format:
[
  {"from":{"key":"company"}, "to":{"key":"company_name"}},
  {"from":{"key":"website"}, "to":{"key":"web"}}
]
How to apply the Dynamic Field Mapping in an automation
In the normal Run
flow of the automation (under the Start Block), use a Block called Transform object
, which will apply the field mapping of the Setup Flow:
Applying dynamic field mapping.
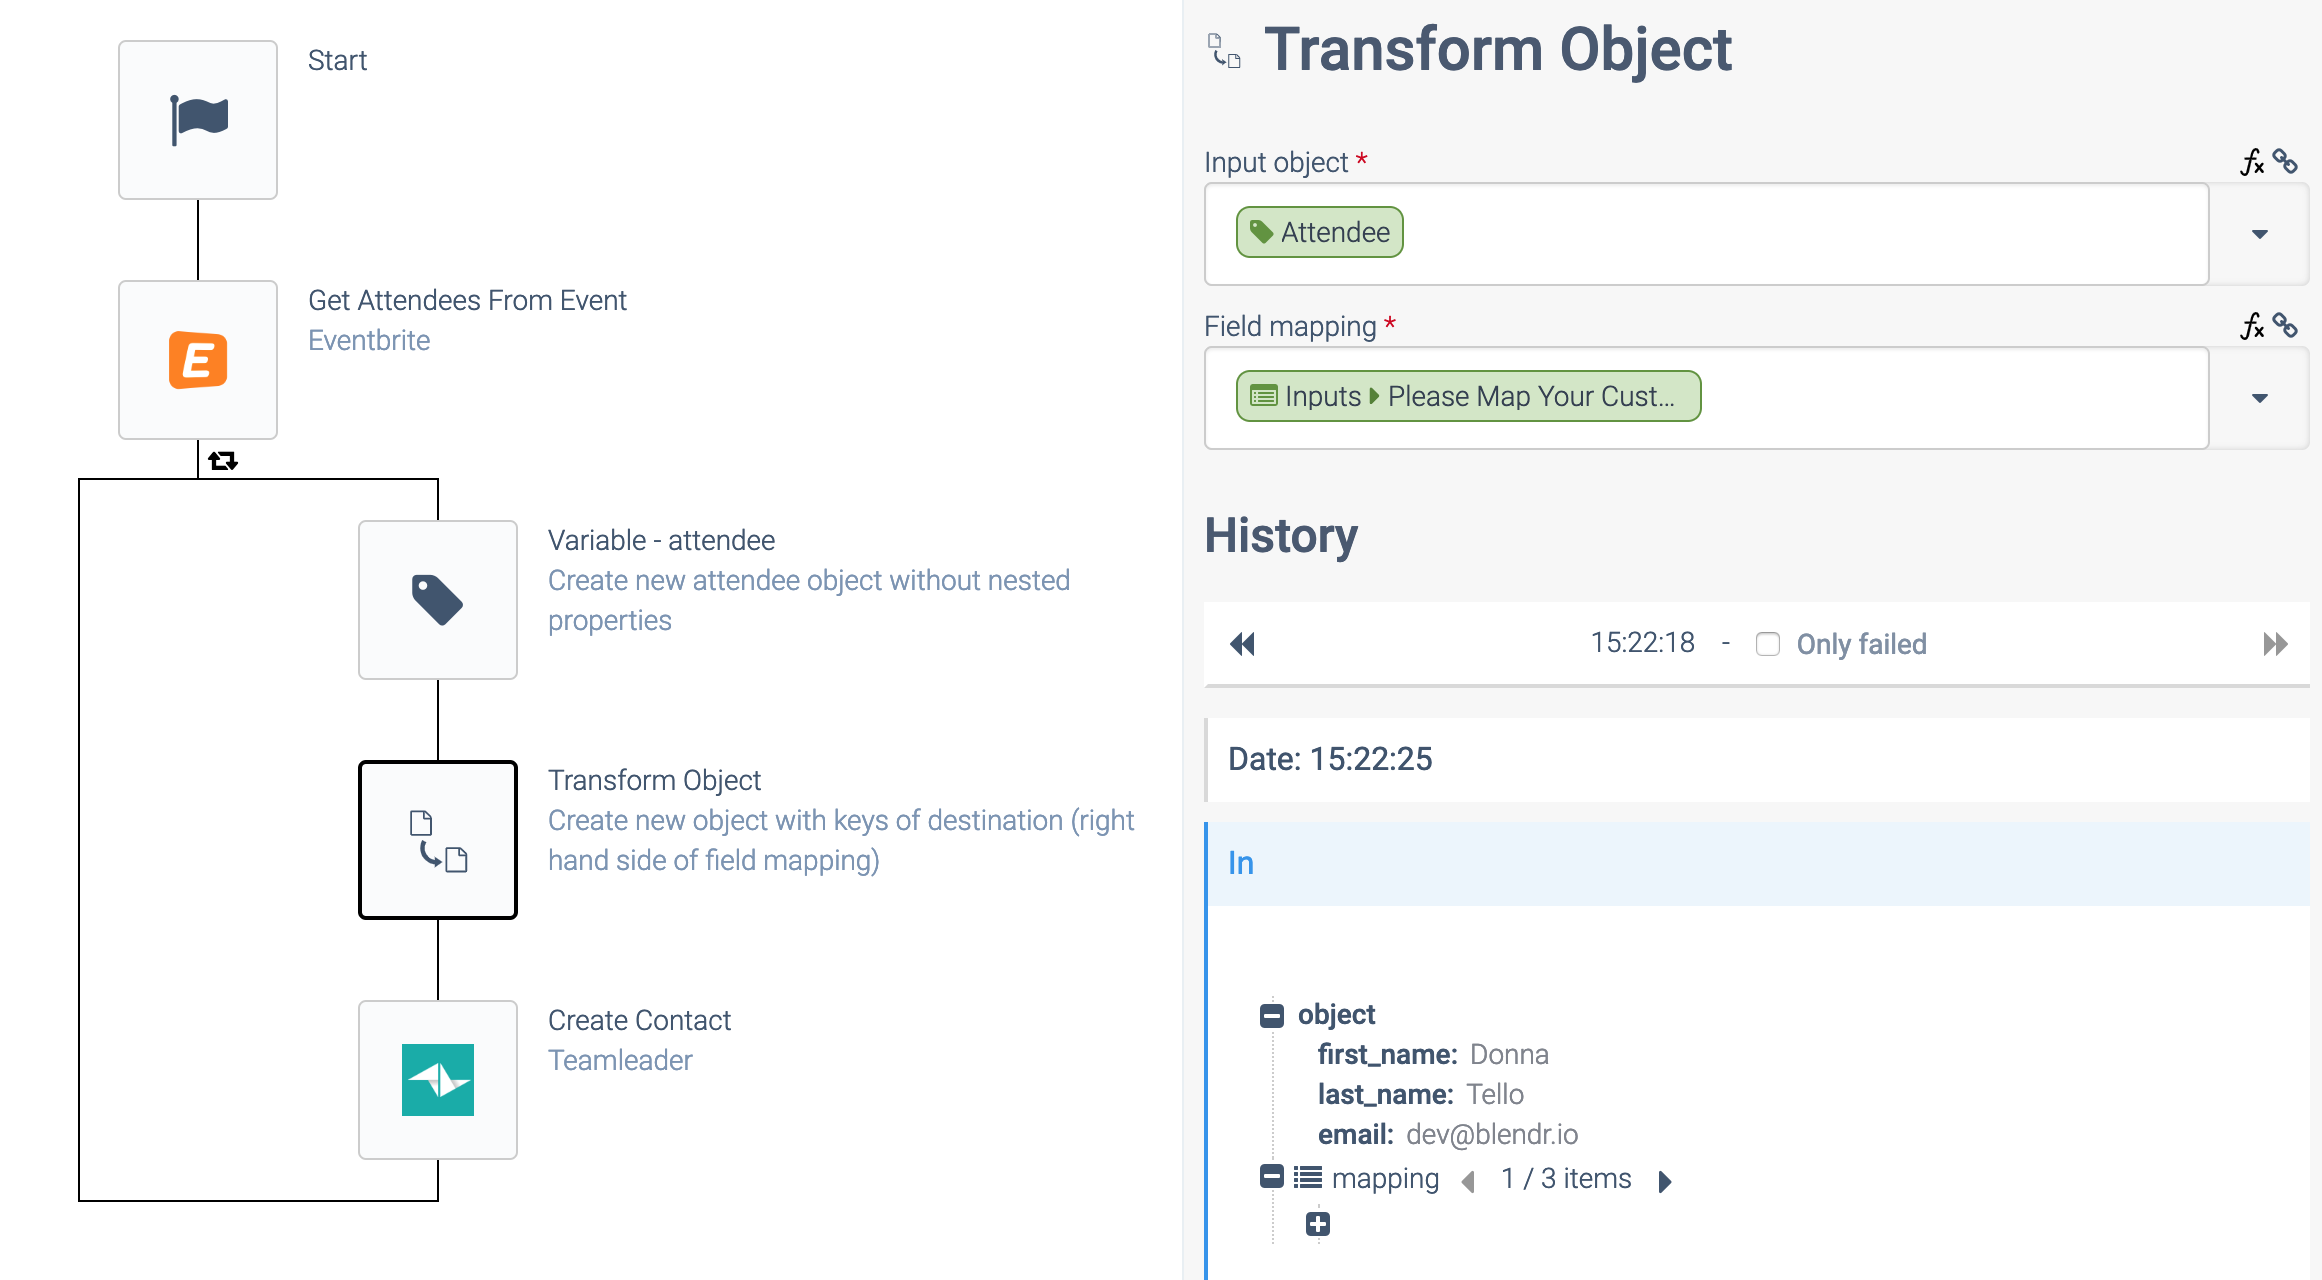
This block will be renamed to Apply field mapping to object
in the future.
This block takes as input one Object (in this example an Eventbrite Attendee) and it will have a new object as output. The new object will have the keys as defined in the Field Mapping on the right-hand side.
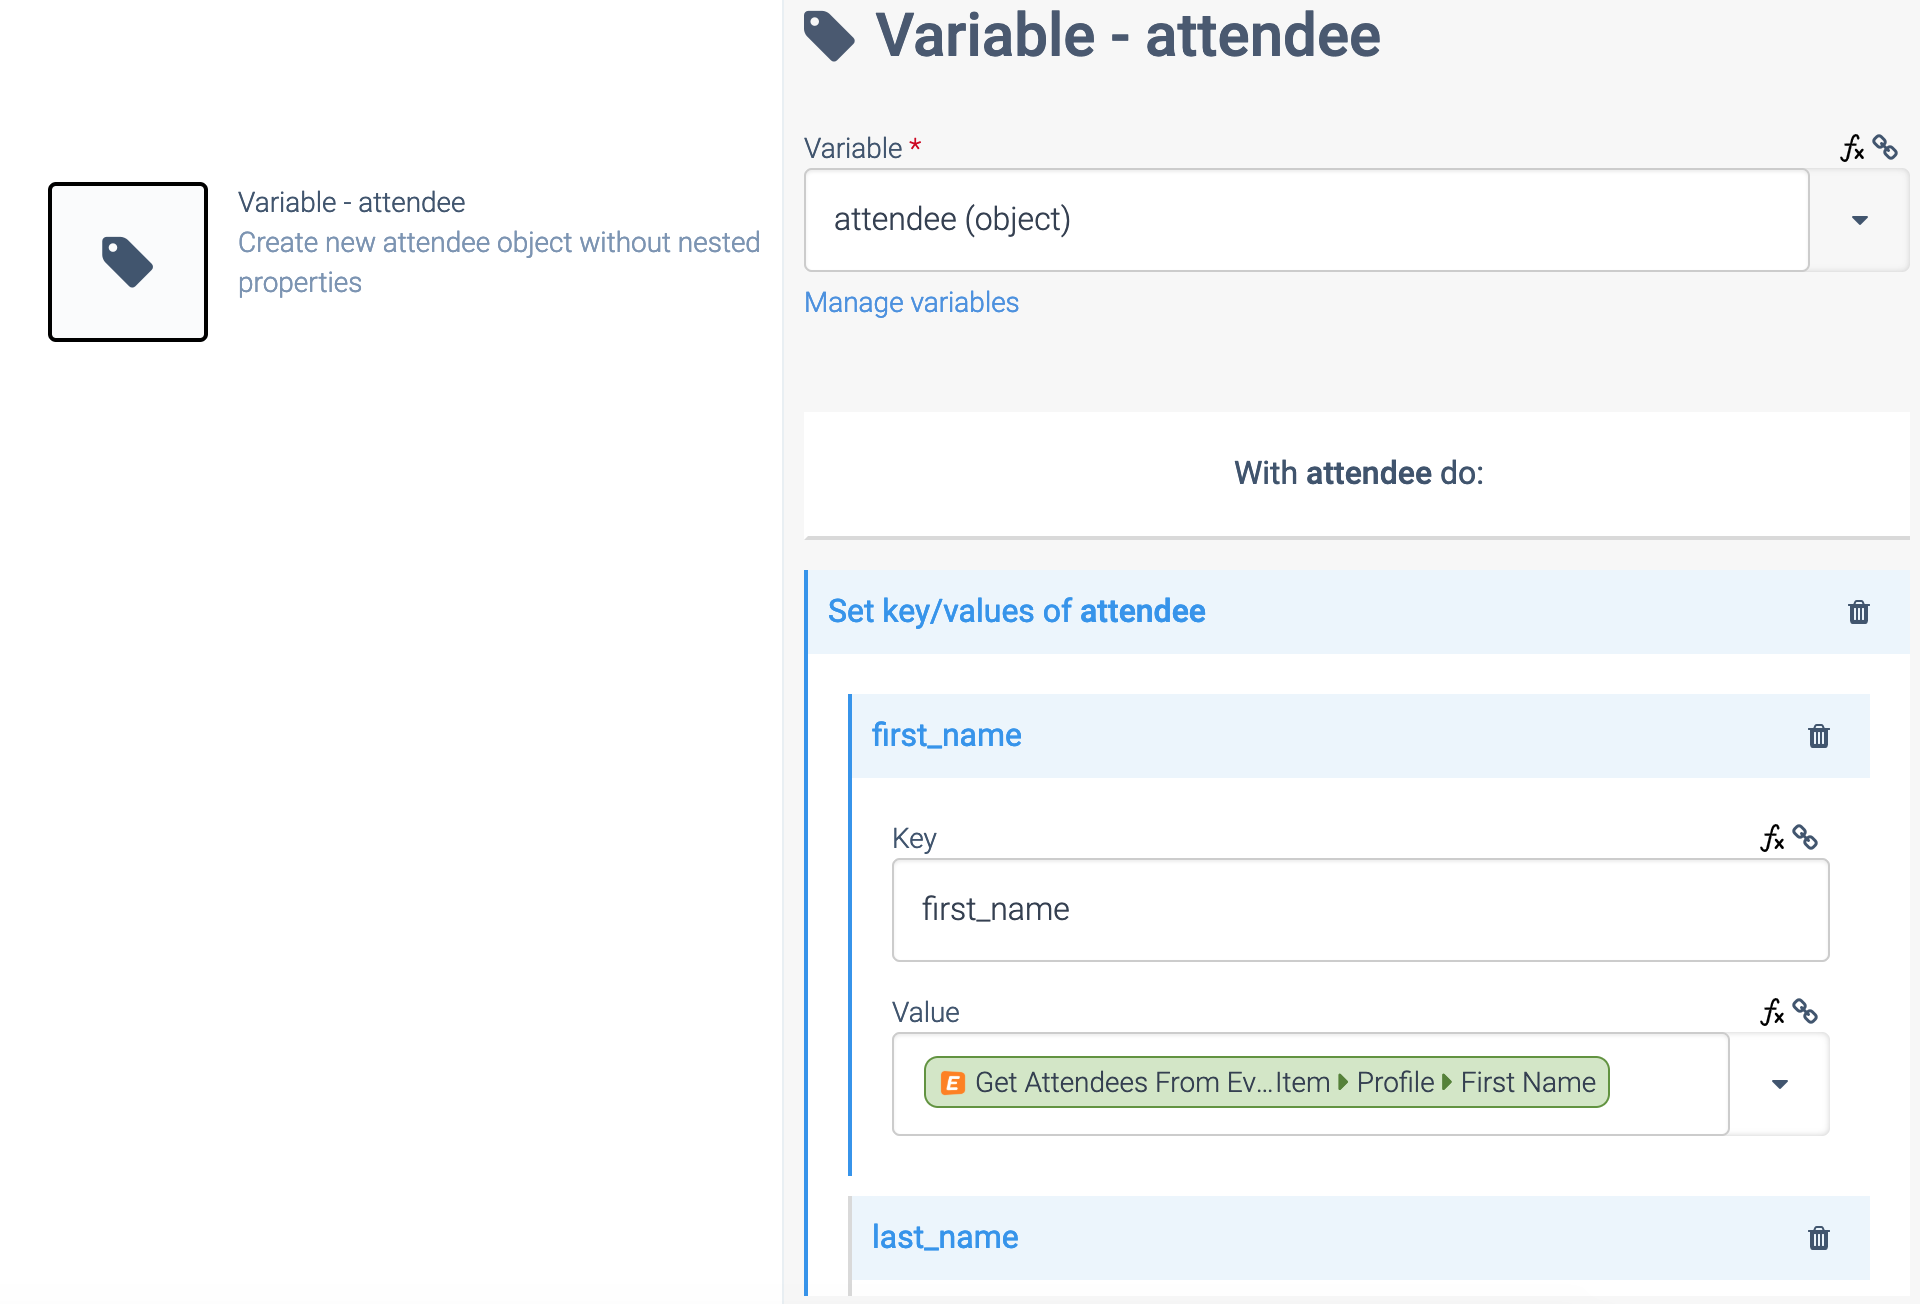
In the above example, the Attendee object has nested properties and the block Transform object
cannot handle those. Therefore, we created a Variable of type Object
and we used this to create a new Attendee object without nested properties:
Creating a new object.
Example object with nested properties:
{
  "profile":
      { "firstname": "John", "lastname": "Doe" }
}
Example of new object without nested properties:
 {
  "firstname": "John",
  "lastname": "Doe"
}
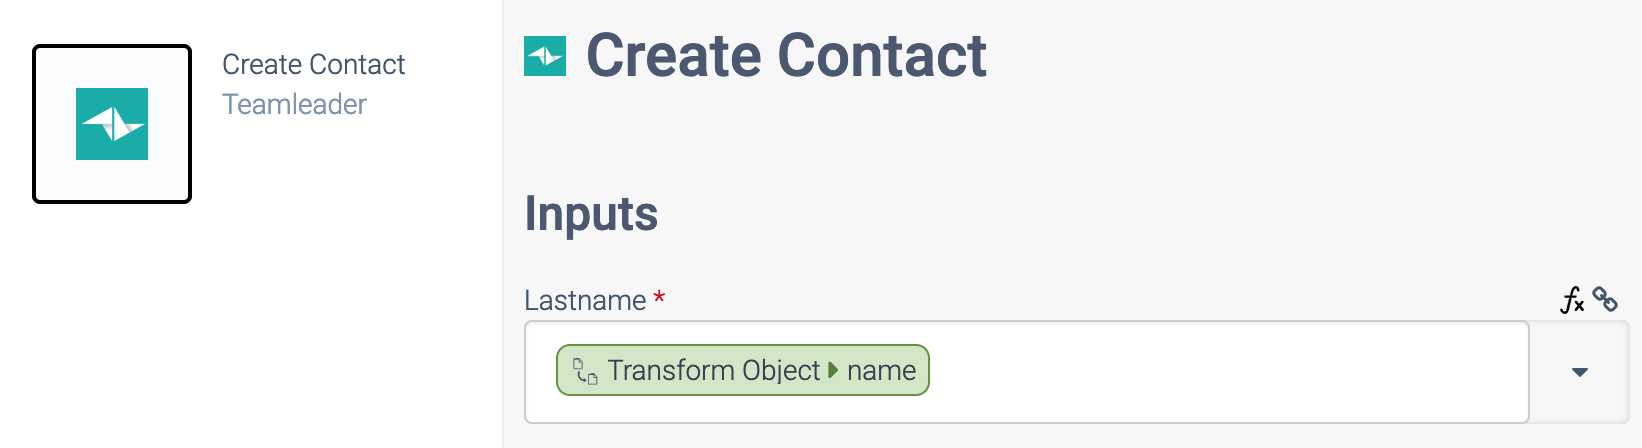
The output from the block Transform Object
is used to send data to the destination, in this case, the block Teamleader Create Contact
:
Here's an example of mapping individual fields:
Mapping individual fields.
Here's an example of mapping all fields at once, typically used to set e.g. custom fields:
Mapping all fields.
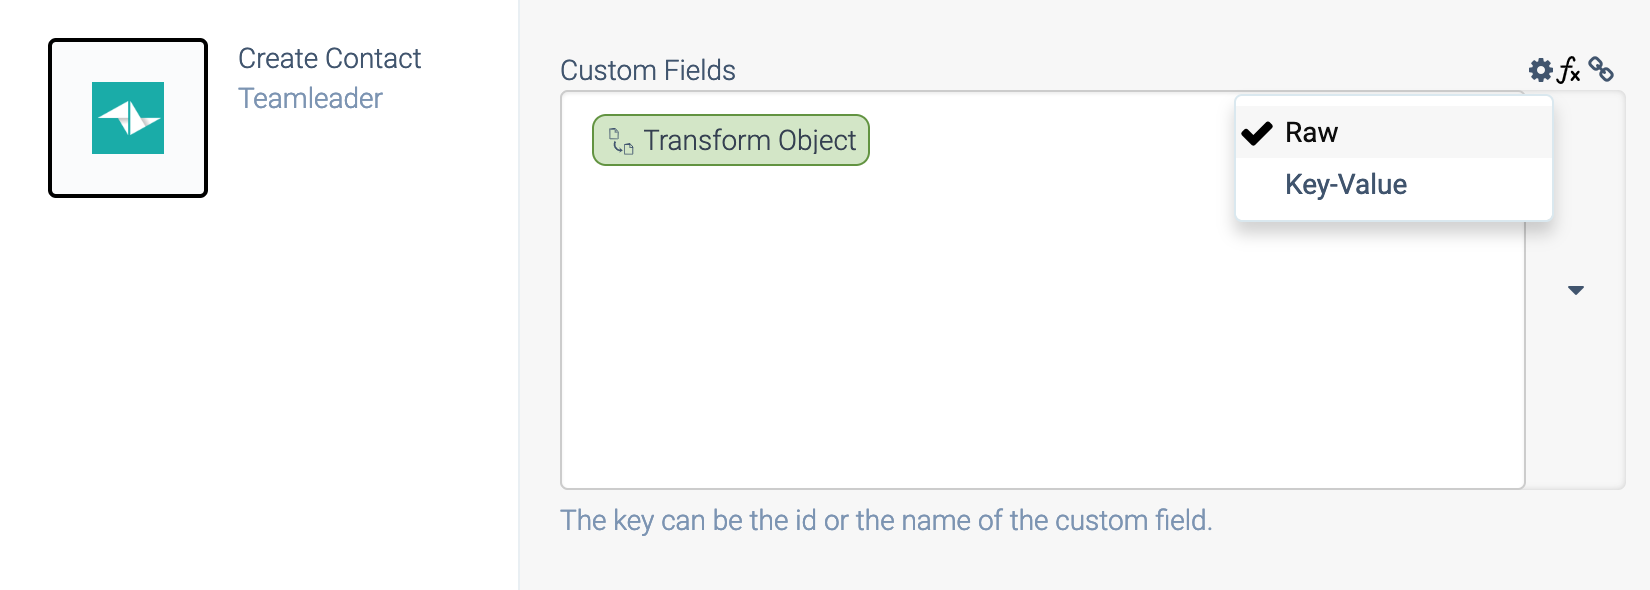
Note that we switched to Raw
mode first, and then we referenced the full object from Transform Object
, which is an object with key/values (not nested) and each key is a field name as configured in the Field Mapping on the right hand side.
Did this page help you?
If you find any issues with this page or its content – a typo, a missing step, or a technical error – let us know how we can improve!